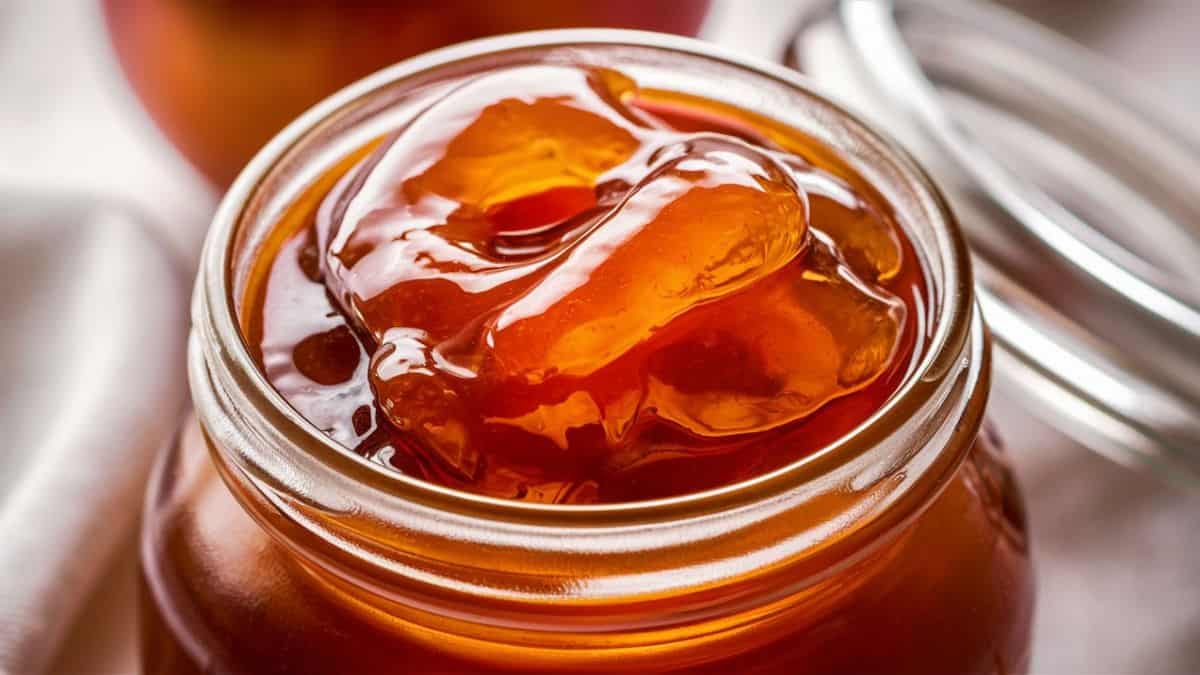
Apple Peel Jelly: The Zero-Waste Treat You’ll Love
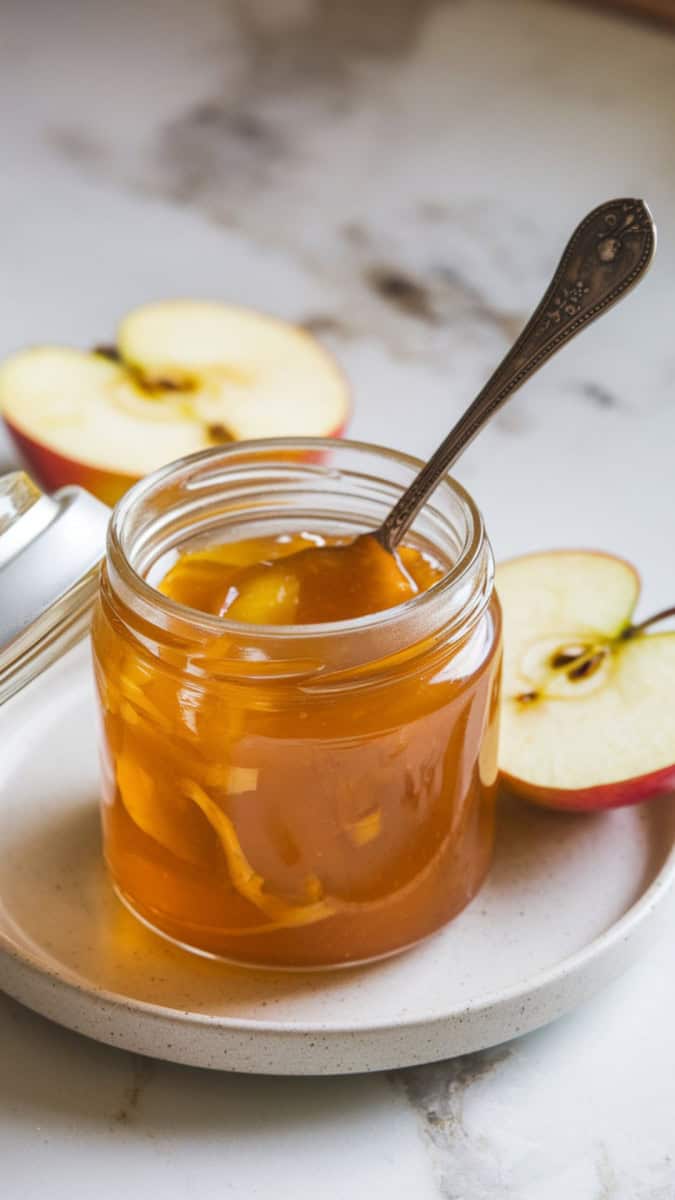
This apple peel jelly is pure magic in a jar. It’s the perfect way to make something delicious out of what you’d usually toss apple peels and cores! Not only does it help reduce food waste, but it’s also a sweet, gently spiced jelly that tastes like fall in a spoonful. My kids love it spread on toast or swirled into oatmeal, and I love that it’s budget-friendly and easy to make. Whether you’re canning for the first time or just love making homemade goodies, this jelly is a keeper.
Why You’ll Love This Apple Peel Jelly
- A clever and sustainable way to use apple scraps
- No need for store-bought pectin
- Sweet, smooth texture perfect for toast or yogurt
- Easy and fun to make with kids
- Customizable with warm spices like cinnamon or cloves
Simple Ingredients
This jelly is all about using what you already have and getting the most flavor from it.
- Apple peels and cores: These contain natural pectin and incredible flavor, making them perfect for jelly. A mix of tart and sweet varieties like Granny Smith, Honeycrisp, and Fuji adds depth.
- Water: Used to extract juice from the apple scraps.
- Sugar: Sweetens the jelly and helps it set.
- Lemon juice: Adds a bright flavor and helps the jelly gel properly.
- Spices (optional): Cinnamon or cloves add cozy warmth and depth.
Yield and Timing
- Servings: Makes about 3 half-pint jars
- Prep Time: 10 minutes
- Cook Time: 45 minutes
- Total Time: 55 minutes

What is Needed
- Apple peels and cores from about six large apples
- Water (enough to cover scraps)
- About 1/2 cup sugar per cup of juice
- Juice of one lemon
- Optional: 1 cinnamon stick or a few whole cloves
Instructions
- Place apple peels and cores into a large pot. Add just enough water to cover them. Bring to a boil, then reduce heat and simmer for 30 minutes, until soft.
- Pour the mixture through a fine mesh strainer or cheesecloth into a bowl. Let it drain fully. Discard the solids. This is your apple juice base.
- Measure the juice. Return it to the pot and add about 1/2 cup sugar per cup of juice. Stir in lemon juice and spices if using.
- Bring the juice mixture to a boil over high heat. Stir constantly until sugar dissolves. Reduce heat to medium and cook until the jelly reaches 220°F (about 10-15 minutes). Test on a cold plate for gel set.
- Pour hot jelly into sterilized jars, leaving 1/4 inch headspace. Wipe rims, apply lids and rings. Process in a boiling water bath canner for 5 minutes.
Top Tips
- Don’t overfill the pot when boiling peels just enough water to cover is perfect.
- Use a cold metal spoon or plate to test for gelling it should wrinkle slightly when pushed.
- Make sure your jars are hot before pouring in the jelly to prevent cracking.
- Let kids help label the jars they’ll love seeing their work on the shelf!
- Add spices sparingly so the apple flavor shines through.
Recipe Variations
- Add a splash of vanilla extract for a cozy twist
- Use honey instead of some sugar for a softer sweetness
- Mix in a bit of cranberry juice for a tart version
- Make it spicy with a pinch of cayenne!
Recommended Equipment
- Large pot
- Mesh strainer or cheesecloth
- Candy thermometer
- Measuring cups
- Ladle
- Sterilized canning jars with lids and rings
- Water bath canner (or large stock pot with rack)
Make Ahead Tips
Apple peel jelly can be made in big batches and stored for up to a year, making it perfect for holiday gifting or planning ahead.
How to Store and Reheat
Store sealed jars in a cool, dark place for up to 12 months. Once opened, keep in the fridge and use within 2-3 weeks. Reheat slightly if needed to soften.
What to Serve With This Recipe
- Warm toast with butter
- Swirled into oatmeal or yogurt
- As a glaze on pork or chicken
- Dolloped on a cheese board with crackers
What You Need to Know About This Recipe
Apple peel jelly has been a traditional way for home cooks to use every part of the fruit, especially in fall canning season. This old-fashioned method captures the essence of apples and transforms waste into flavor, often passed down through generations. It gained popularity in the 19th and early 20th centuries when home preservation was a vital skill, especially in rural households. Today, it’s loved for its zero-waste approach and nostalgic flavor.
How to Sterilize Jars
Before canning, wash your jars in hot soapy water or run them through the dishwasher. Then place the jars in a large pot of boiling water for 10 minutes. Keep them hot until ready to fill. This ensures your jelly stays safe and shelf-stable.
Check out my fall dessert recipes.
More Apple Recipes and Apple Ideas
Try these you will love them!


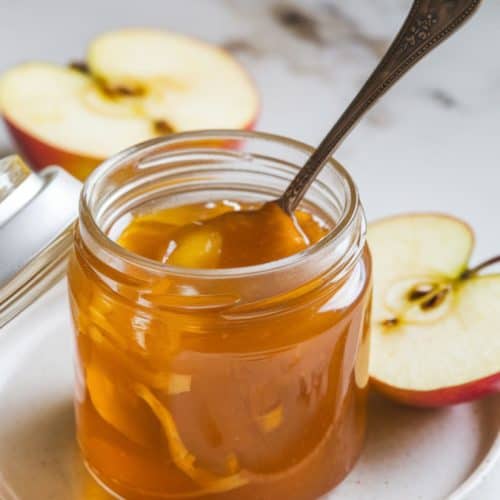
Apple Peel Jelly
Equipment
- Large pot
- Mesh strainer or cheesecloth
- Candy thermometer
- Measuring cups
- Ladle
- Sterilized canning jars with lids and rings
- Water bath canner (or large stock pot with rack)
Ingredients
- Apple peels and cores from about six large apples
- Water enough to cover scraps
- About 1/2 cup sugar per cup of juice
- Juice of one lemon
- Optional: 1 cinnamon stick or a few whole cloves
Instructions
- Extract the Juice: Place apple peels and cores into a large pot. Add just enough water to cover them. Bring to a boil, then reduce heat and simmer for 30 minutes, until soft.
- Strain the Liquid: Pour the mixture through a fine mesh strainer or cheesecloth into a bowl. Let it drain fully. Discard the solids. This is your apple juice base.
- Measure and Add Sugar: Measure the juice. Return it to the pot and add about 1/2 cup sugar per cup of juice. Stir in lemon juice and spices if using.
- Cook the Jelly: Bring the juice mixture to a boil over high heat. Stir constantly until sugar dissolves. Reduce heat to medium and cook until the jelly reaches 220°F (about 10-15 minutes). Test on a cold plate for gel set.
- Jar and Seal: Pour hot jelly into sterilized jars, leaving 1/4 inch headspace. Wipe rims, apply lids and rings. Process in a boiling water bath canner for 5 minutes.
Notes
One-Pot Cooking Rocks!

Michelle
Hi, I’m Michelle, the founder, owner, author, and editor of OvenSpot. My passion for one-pot cooking commenced when I was working to prepare cafeteria lunches for school students. I am now on a mission to assist you in choosing the cooking pot or appliance you will use daily. As well as in-depth information to assist you in using and caring for your cookware and appliances. Along with the yummy recipes I use at home.
Questions? Reach out to Michelle at [email protected]