Norwegian Sandbakkels: Crisp, Buttery Christmas Cookies
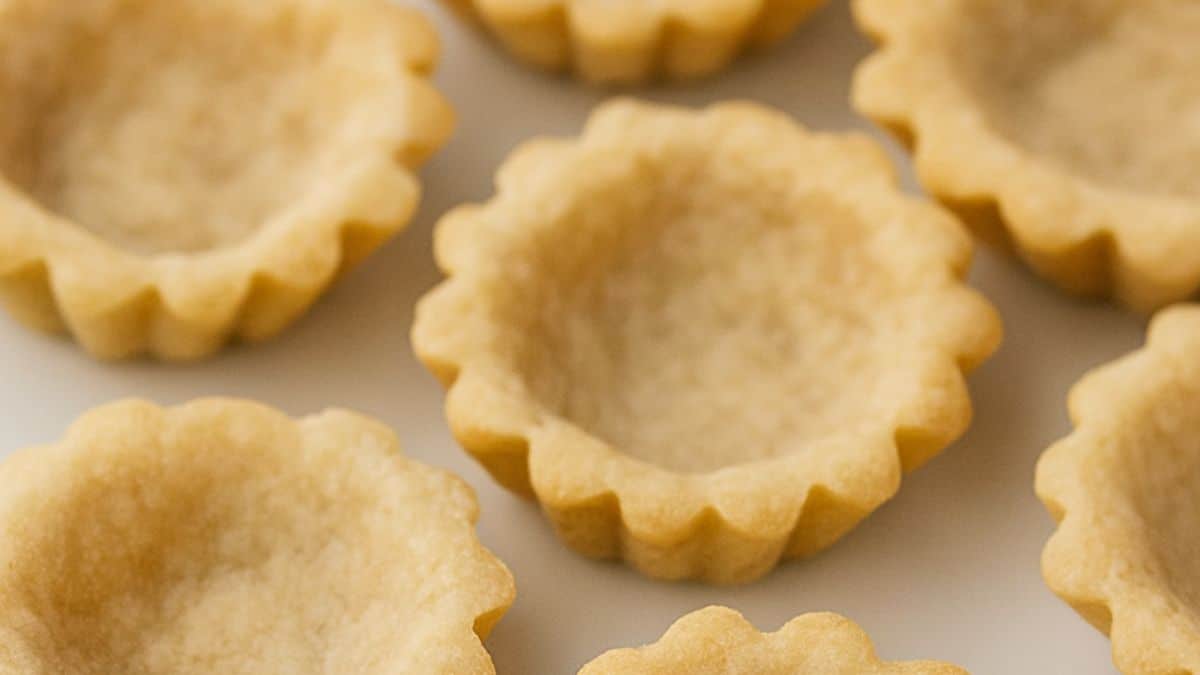
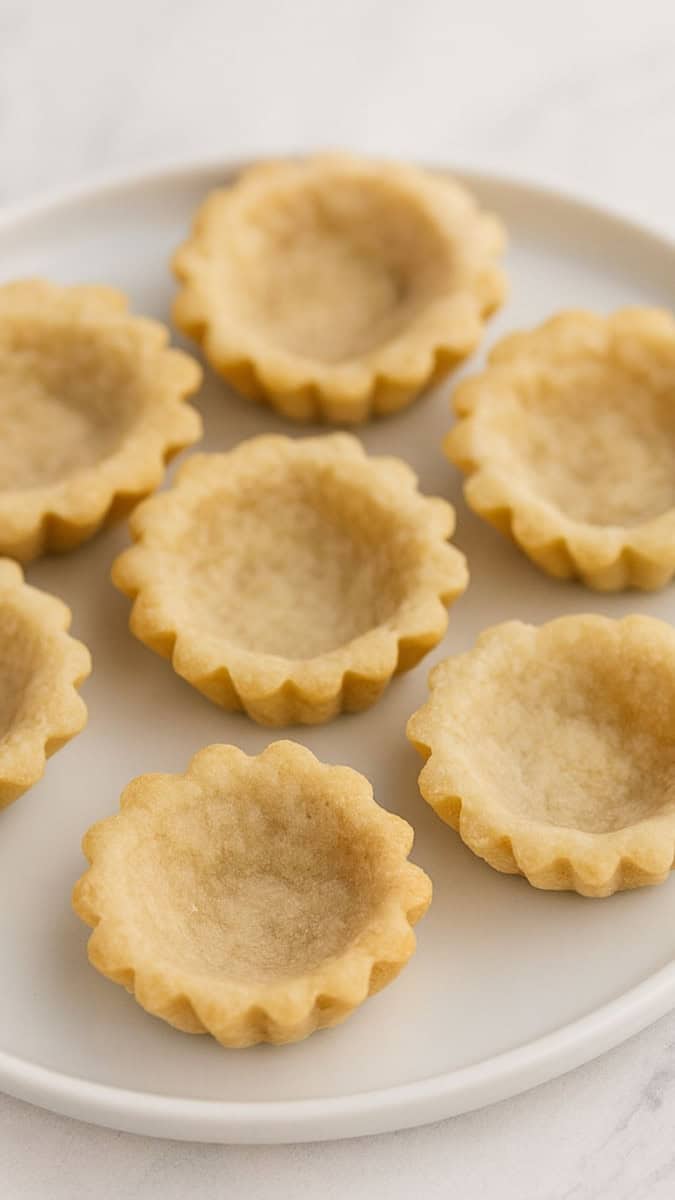
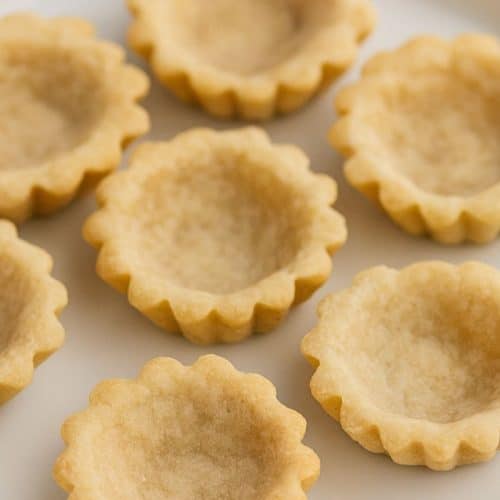
These beautiful, buttery cookies are a true treasure in Scandinavian baking, and I’ve always thought they look like tiny works of art. Norwegian sandbakkels, or sandbakelse, are Norwegian sugar shells thin, crisp cookies traditionally made in small fluted tins. They’re delicate, lightly sweet, and often kissed with the flavor of almond.
What makes them extra special is how they can be served plain or filled with little spoonfuls of jam, cream, or even chocolate ganache for a more indulgent bite. They’re the kind of cookie that feels special perfect for Christmas tea, cookie exchanges, or just to treat yourself with something lovely from the oven.
Why You’ll Love Sandbakkels
These cookies are all about texture and charm. Their thin, crisp shell practically melts in your mouth, and the subtle almond flavor gives them a traditional Scandinavian touch. They’re surprisingly simple to make but feel fancy enough to be a showstopper on any cookie platter. And the best part? You can customize them with your favorite fillings or leave them plain they’re perfect either way.
Simple Ingredients
Just a few pantry staples and a touch of almond extract make these cookies shine.
- Unsalted Butter: The base of this dough rich, creamy butter creates that melt-in-your-mouth texture.
- Granulated Sugar: For sweetness and structure, sugar helps the cookies crisp up just right.
- Egg: Binds everything together and adds richness to the dough.
- All-Purpose Flour: Gives the dough structure while keeping the cookies delicate.
- Almond Extract: This is what gives Sandbakkels their signature flavor just a little goes a long way.
- Optional Fillings: Fruit preserves, whipped cream, or chocolate ganache add a little surprise inside each shell.
Servings and Timing
Servings: 24 cookies
Prep Time: 15 minutes
Chill Time: 30 minutes
Cook Time: 12 minutes
Total Time: 57 minutes
What is Needed
- 1 cup unsalted butter, softened
- 1 cup granulated sugar
- 1 large egg
- 2 cups all-purpose flour
- 1 teaspoon almond extract
- Optional: fruit preserves, whipped cream, chocolate ganache
- Sandbakkel tins (fluted metal tart tins)
Instructions
- In a mixing bowl, cream together the softened butter and granulated sugar until light and fluffy.
- Beat in the egg and almond extract until well combined.
- Gradually mix in the flour, stirring until a soft dough forms.
- Wrap the dough in plastic wrap and chill for at least 30 minutes.
- Preheat the oven to 375°F (190°C).
- Press small portions of the chilled dough into the sandbakkel tins, pressing thinly and evenly across the bottom and up the sides.
- Place tins on a baking sheet and bake for 10–12 minutes, or until the edges just begin to turn golden.
- Remove from oven and let cool slightly before gently loosening cookies from tins.
- Serve plain or fill with your favorite jam, whipped cream, or ganache.
Top Tips
- Chill the dough – This keeps it easy to work with and helps prevent shrinking in the tins.
- Press the dough thin – The thinner the dough, the crispier and more delicate the shell.
- Don’t overbake – Take them out when they’re just lightly golden on the edges to keep that tender bite.
- Use quality almond extract – Since it’s the main flavor, a good extract makes a big difference.
- Let kids fill them – It’s a fun, hands-on job for little helpers, especially with colorful jams or piped cream.
Recipe Variations
- Add lemon or orange zest to the dough for a citrusy twist
- Use vanilla extract instead of almond for a more neutral cookie
- Fill with lemon curd or Nutella for modern flavor options
- Dip edges in melted chocolate for an elegant finish
Recommended Equipment
- Sandbakkel tins
- Hand or stand mixer
- Mixing bowls
- Plastic wrap
- Baking sheet
- Cooling rack
- Small spoon or piping bag for fillings
Make Ahead Tips
You can make the dough up to 3 days in advance and keep it tightly wrapped in the fridge. Baked shells (unfilled) can be stored at room temperature in an airtight container for up to a week.
How to Store and Reheat
- Storage: Keep unfilled cookies in an airtight container at room temperature for up to 7 days.
- Reheating: Not necessary just serve as-is. If filling with cream, do so just before serving.
What to Serve With This Recipe
These cookies are perfect with coffee, tea, or hot chocolate. They also make a stunning addition to holiday cookie trays or dessert tables.
What You Need to Know About This Recipe
Sandbakkels are a beloved tradition in Norwegian and Scandinavian holiday baking. The name means “sand tarts,” and the cookies are known for their crumbly, sandy texture. Traditionally baked in small fluted tins and often passed down through generations, they reflect the cozy, homemade charm of Scandinavian kitchens. Whether you’re Norwegian or just love European baking traditions, this is one recipe you’ll want to make a holiday favorite.
More Christmas Cookies
If you love these cookies you must try these forgotten Christmas Cookies.
Norwegian Sandbakkels
Ingredients
- 1 cup unsalted butter softened
- 1 cup granulated sugar
- 1 large egg
- 2 cups all-purpose flour
- 1 teaspoon almond extract
- Optional: fruit preserves whipped cream, chocolate ganache
- Sandbakkel tins fluted metal tart tins
Instructions
- In a mixing bowl, cream together the softened butter and granulated sugar until light and fluffy.
- Beat in the egg and almond extract until well combined.
- Gradually mix in the flour, stirring until a soft dough forms.
- Wrap the dough in plastic wrap and chill for at least 30 minutes.
- Preheat the oven to 375°F (190°C).
- Press small portions of the chilled dough into the sandbakkel tins, pressing thinly and evenly across the bottom and up the sides.
- Place tins on a baking sheet and bake for 10–12 minutes, or until the edges just begin to turn golden.
- Remove from oven and let cool slightly before gently loosening cookies from tins.
- Serve plain or fill with your favorite jam, whipped cream, or ganache.
Notes
- Be gentle when removing cookies from tins use a toothpick or the tip of a knife to loosen if needed.
- Unfilled cookies freeze well for up to 3 months.

Michelle
Hi, I’m Michelle, the founder, owner, author, and editor of OvenSpot. My passion for one-pot cooking commenced when I was working to prepare cafeteria lunches for school students. I am now on a mission to assist you in choosing the cooking pot or appliance you will use daily. As well as in-depth information to assist you in using and caring for your cookware and appliances. Along with the yummy recipes I use at home.
Questions? Reach out to Michelle at [email protected]