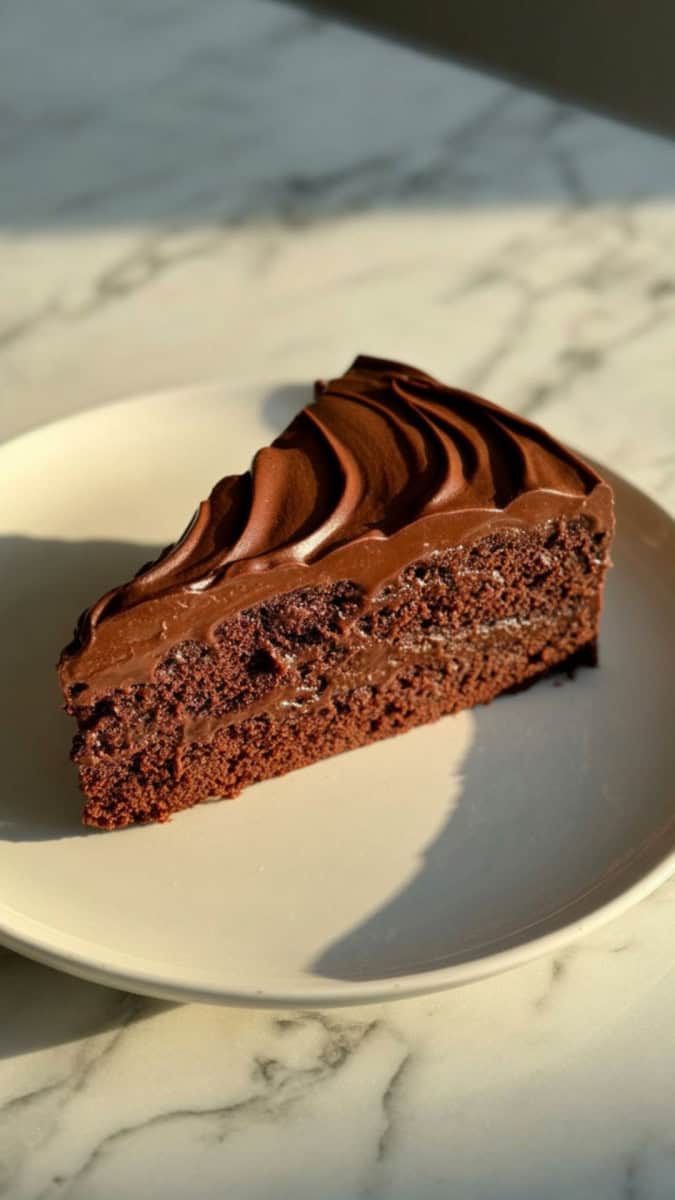
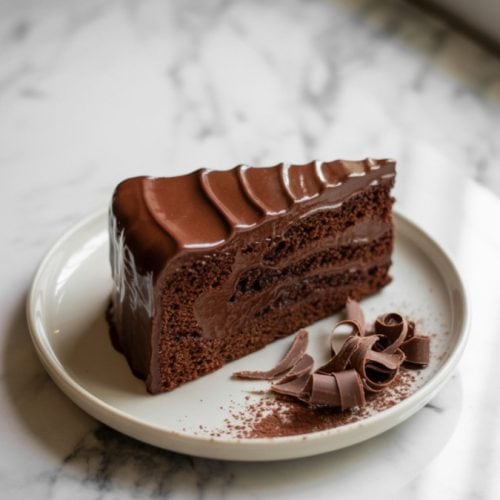
Warm Up with a Slice of Our Rich Hot Chocolate Cake
When a chill moves in, we light the oven and make a small celebration. A single slice of this cake feels like a pause rich chocolate balanced by gentle sweetness and a tender crumb you can share without fuss.
We build real flavor by blooming cocoa in warm liquid, then finishing with either a cocoa buttercream or a whipped ganache-style icing. A toasted marshmallow nest on the top gives that cozy, mug-by-the-fire feeling.

This post may contain affiliate links. Please read our disclaimer.
Why You’ll Love Hot Chocolate Cake
This hot chocolate cake draws inspiration from the classic winter drink we all love warm, chocolatey, and comforting. Blooming cocoa in hot chocolate is a trick borrowed from professional bakers to bring out its depth and aroma. This cake can be as simple or as show-stopping as you’d like, depending on your finish just a single layer with ganache or a stacked cake crowned with toasted marshmallow. It’s designed to be flexible, beginner-friendly, and most importantly delicious.
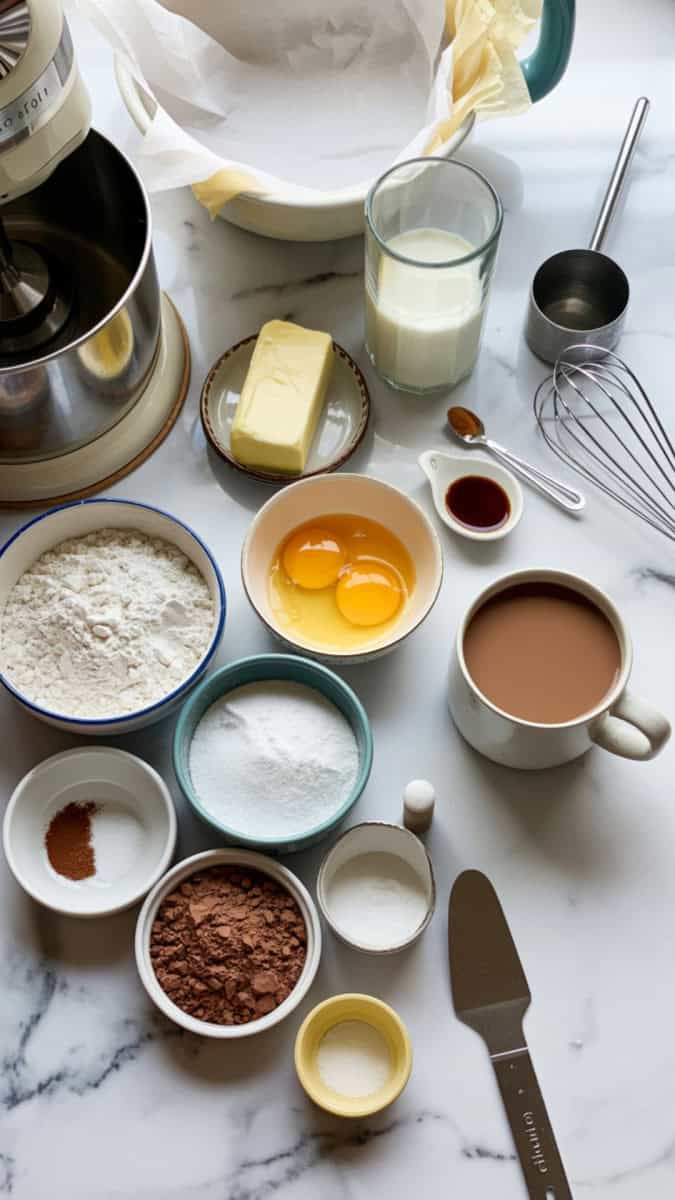
Simple Ingredients
Here’s what you’ll need familiar pantry staples with just the right additions for deep chocolate flavor.
- All-purpose flour: Provides the structure for the cake while keeping the crumb soft.
- Granulated sugar: Balances the cocoa and adds tenderness to each bite.
- Unsweetened cocoa powder: Bloomed in hot liquid for deeper chocolate notes without heaviness.
- Baking powder + baking soda: A duo that helps the cake rise evenly and stay soft.
- Salt: Enhances flavor and balances sweetness.
- Eggs: Add richness and help the cake bind.
- Vegetable oil: Keeps the cake moist and soft for days.
- Butter: Adds flavor and a soft, tender texture.
- Milk: Helps emulsify the batter and balance cocoa intensity.
- Vanilla extract: Rounds out the chocolate flavor with warmth and sweetness.
- Hot chocolate or boiling water: Used to bloom the cocoa and deepen the chocolate flavor.
Yield & Timing
Servings: 10–12 slices
Prep Time: 20 minutes
Cook Time: 30–40 minutes
Total Time: 1 hour (including cooling)
What is Needed
- 1¾ cups all-purpose flour
- 1½ cups granulated sugar
- ¾ cup unsweetened cocoa powder (natural or Dutch-processed)
- 1½ tsp baking powder
- 1½ tsp baking soda
- ½ tsp salt
- 2 large eggs
- ½ cup vegetable oil
- ¼ cup unsalted butter, softened
- 1 cup whole milk
- 2 tsp vanilla extract
- 1½ cups hot chocolate (or boiling water)
Optional for Topping:
- Cocoa buttercream or whipped ganache frosting
- Marshmallow fluff or homemade toasted marshmallows
Instructions
- Preheat the oven to 350°F. Grease and line two 8–9 inch cake pans (or three 6″ pans) with parchment paper. Brush the sides with butter or oil.
- In a large bowl, combine flour, sugar, cocoa powder, baking powder, baking soda, and salt.
- Stir in the oil, butter, and milk until just combined. The batter will start to come together.
- Add the eggs one at a time, mixing until fully incorporated after each. Stir in the vanilla.
- Slowly stream in the hot chocolate while mixing this deepens the flavor and darkens the batter.
- Pour evenly into the prepared pans. Bake for 30–40 minutes depending on pan size. Cake is done when a toothpick comes out clean and the top springs back.
- Cool in pans for 15 minutes, then run a knife around the edges and invert onto wire racks. Once cool, frost as desired.
Topping Options for the Perfect Finish
A good topping turns a chocolate cake into a full experience it can lean cozy, elegant, or playful depending on what you choose. Here are a few of our favorite ways to finish this hot chocolate cake, whether you’re going for classic or show-stopping.
Classic Cocoa Buttercream: Smooth, rich, and nostalgic. This frosting brings the warmth of a childhood mug of cocoa to every slice. You can swirl it on thick or use a thin layer for a more rustic finish.
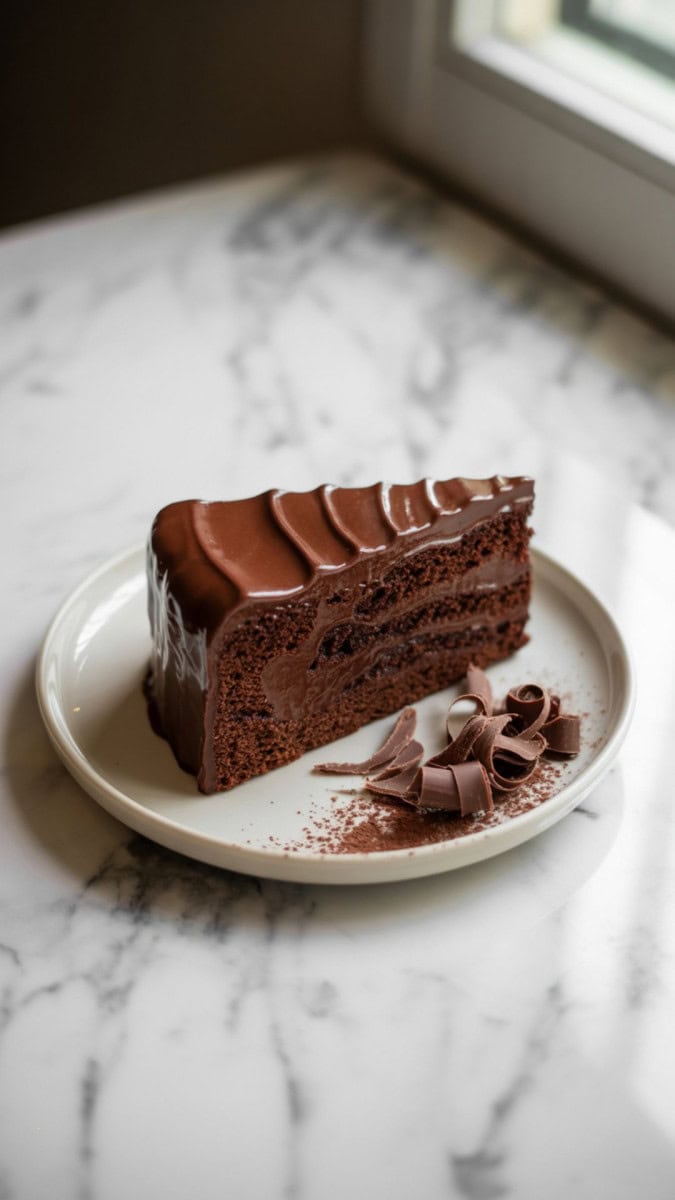
Whipped Ganache: Velvety, glossy, and bakery-worthy. Whipped ganache holds soft peaks and spreads like a dream. It’s rich enough to feel indulgent but balanced by the cake’s tender crumb.
Toasted Marshmallow Fluff: For a true hot chocolate experience, dollop marshmallow fluff over the top or pipe it in swoops between layers. Use a kitchen torch to toast it golden for visual drama and a lightly crisp top.
Fudge Sauce or Pour-Over Ganache: A warm, glossy ganache poured just before serving adds a restaurant-style finish. Let it pool on the plate for that extra spoonful of luxury.
Chocolate Curls, Shavings, or Sprinkles: A simple garnish of curls or shavings adds texture and elegance without any extra work. Use a vegetable peeler on a chocolate bar for pretty ribbons, or scatter mini chocolate chips if you’re baking for kids.
Crushed Peppermint or Cinnamon Sugar Dusting: Around the holidays, crushed peppermint candies or a light cinnamon sugar dusting makes this cake feel festive with no extra effort.
Choose one or combine a couple like buttercream with toasted marshmallows or ganache with chocolate curls. There’s no wrong answer, just layers of comfort.
Top Tips
- Natural cocoa or Dutch-processed works bloom cocoa powder with hot liquid to unlock flavor. For ganache, choose 60–70% chocolate for smooth melting.
- Room temperature ingredients help the batter blend smoothly and bake evenly.
- Use hot chocolate instead of water for a cozier, deeper flavor.
- Use oil for lasting moisture; use butter for richer flavor. Combining them gives softness and depth in the same cake.
- Don’t overmix once the flour is in this keeps the cake tender.
- Freeze your layers in advance to make frosting clean and easy.
- Toast marshmallows last minute for that fresh, fire-side aroma.
Recipe Variations
- Make it gluten-free with a 1:1 all-purpose GF flour blend.
- Add mini chocolate chips to the batter for melty pockets of chocolate.
- Use coffee instead of hot chocolate to intensify the cocoa flavor.
- Top with crushed peppermint during the holidays for a festive twist.
Recommended Equipment
- Mixing bowls
- Whisk or hand/stand mixer
- Measuring cups and spoons
- 2 cake pans (8–9 inch or 3 6-inch)
- Parchment paper
- Offset spatula (Affiliate)
- Cooling racks
- Knife and cutting board
- Kitchen torch (optional for marshmallows)
Make Ahead Tips
- Bake cake layers a day ahead and wrap tightly in plastic.
- Freeze layers for up to 1 month and thaw before frosting.
- Prepare frosting up to 3 days ahead and store in the fridge bring to room temp before using.
How to Store and Reheat
- Room Temp: Store covered at room temperature for up to 24 hours.
- Fridge: Cover tightly and refrigerate for 3–4 days.
- Reheat: Let slices come to room temp or warm slightly in the microwave for 10–15 seconds.
- Freeze: Wrap unfrosted layers in plastic wrap and foil. Freeze up to 1 month.
What to Serve With This Recipe
- A scoop of vanilla ice cream or peppermint gelato
- Warm ganache drizzled over each slice
- My delicious hot chocolate or coffee on the side
- Whipped cream and chocolate shavings
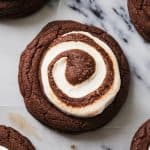
More Chocolate Recipes
Try these you will love them!


Hot Chocolate Cake
Equipment
- Mixing bowls
- Whisk or hand/stand mixer
- Measuring cups and spoons
- 2 cake pans (8–9 inch or 3 6-inch)
- Parchment paper
- Offset spatula
- Cooling racks
- Knife and cutting board
- Kitchen torch
Ingredients
- 1¾ cups all-purpose flour
- 1½ cups granulated sugar
- ¾ cup unsweetened cocoa powder natural or Dutch-processed
- 1½ tsp baking powder
- 1½ tsp baking soda
- ½ tsp salt
- 2 large eggs
- ½ cup vegetable oil
- ¼ cup unsalted butter softened
- 1 cup whole milk
- 2 tsp vanilla extract
- 1½ cups hot chocolate or boiling water
Instructions
- Preheat the oven to 350°F. Grease and line two 8–9 inch cake pans (or three 6″ pans) with parchment paper. Brush the sides with butter or oil.
- Whisk dry ingredients. In a large bowl, combine flour, sugar, cocoa powder, baking powder, baking soda, and salt.
- Add wet ingredients. Stir in the oil, butter, and milk until just combined. The batter will start to come together.
- Mix in eggs. Add the eggs one at a time, mixing until fully incorporated after each. Stir in the vanilla.
- Bloom the cocoa. Slowly stream in the hot chocolate while mixing—this deepens the flavor and darkens the batter.
- Divide and bake. Pour evenly into the prepared pans. Bake for 30–40 minutes depending on pan size. Cake is done when a toothpick comes out clean and the top springs back.
- Cool and frost. Cool in pans for 15 minutes, then run a knife around the edges and invert onto wire racks. Once cool, frost as desired.
Notes
- Substitute coffee for the hot chocolate if you prefer deeper flavor.
- Layers can be made in advance and frozen.
- Don’t skip blooming the cocoa it makes a big difference!
One-Pot Cooking Rocks!

Michelle
Hi, I’m Michelle, the founder, owner, author, and editor of OvenSpot. My passion for one-pot cooking commenced when I was working to prepare cafeteria lunches for school students. I am now on a mission to assist you in choosing the cooking pot or appliance you will use daily. As well as in-depth information to assist you in using and caring for your cookware and appliances. Along with the yummy recipes I use at home.
Questions? Reach out to Michelle at [email protected]