Salmon Mousse Recipe: A Vintage Favorite for Your Christmas Table
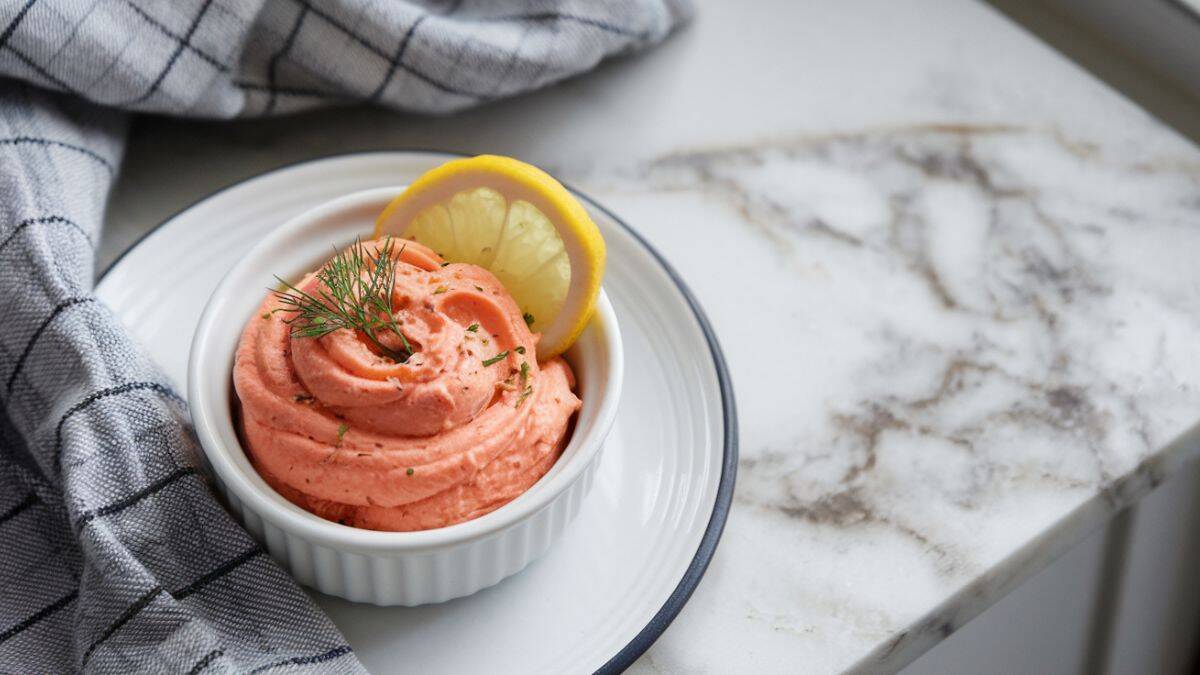
This vintage gem of a recipe is making a comeback and it’s about time! Salmon mousse was once the crown jewel of Christmas cocktail parties, often served in charming molds shaped like wreaths or fish. Made with tender canned or poached salmon, zesty lemon, smooth cream cheese, and a touch of dill, this mousse is chilled to perfection and served with crisp crackers or buttery toast points.
What I love about this dish is how incredibly simple it is to prepare, yet it feels so fancy and nostalgic like opening a window into grandma’s holiday spread. It’s perfect for prepping ahead of time, and kids often love the creamy texture and gentle flavor. Let’s bring it back to your Christmas table!
Why You’ll Love This Salmon Mousse Appetizer
Salmon mousse is a savory appetizer that’s elegant without being fussy. It’s perfect for holiday parties, brunch tables, or even a light lunch. You’ll love how it can be made ahead of time, how budget-friendly it is, and how it brings a charming retro touch to your modern celebrations. Whether served in a fancy mold or simply in a bowl, it never fails to impress.
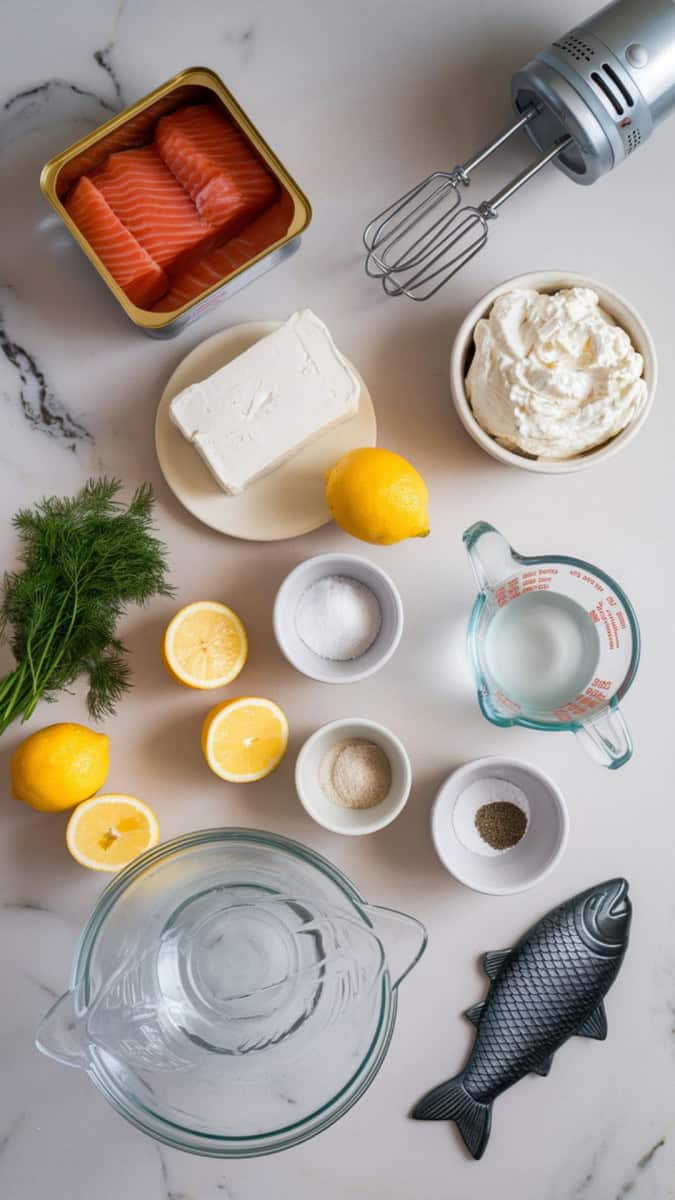
Simple Ingredients
These ingredients work together to make a creamy, flavorful mousse that chills beautifully.
- Canned or Poached Salmon: The star of the dish. Canned salmon is the easiest choice, but poached fresh salmon gives a lighter flavor.
- Cream Cheese: This gives the mousse its silky smooth texture and helps it set when chilled.
- Heavy Cream: Whipped cream lightens the mousse and creates that fluffy consistency.
- Lemon Juice & Zest: Brightens the rich flavors and adds a fresh zing to each bite.
- Fresh Dill: Classic pairing with salmon adds herbaceous notes without overpowering.
- Unflavored Gelatin: Essential for helping the mousse hold its shape once molded and chilled.
- Salt & Pepper: Just enough to balance all the flavors and enhance the savory elements.
Servings and Time
- Servings: 6–8
- Prep Time: 20 minutes
- Chill Time: 4 hours (or overnight)
- Total Time: 4 hours 20 minutes
What is Needed
- 1 (14 oz) can of salmon, drained and flaked (or 1 cup poached salmon)
- 8 oz cream cheese, softened
- 1/2 cup heavy cream, whipped
- 2 tbsp lemon juice
- 1 tsp lemon zest
- 2 tbsp fresh dill, finely chopped
- 1 envelope (2 1/4 tsp) unflavored gelatin
- 1/4 cup warm water
- Salt and pepper, to taste
Instructions
- In a small bowl, dissolve the unflavored gelatin in warm water. Let it sit for 5 minutes to bloom.
- In a large mixing bowl, combine the cream cheese, lemon juice, zest, dill, salt, and pepper. Mix until smooth using a hand mixer.
- Stir in the flaked salmon and bloomed gelatin. Mix until fully incorporated.
- Gently fold in the whipped cream with a rubber spatula to keep the mousse light and airy.
- Spoon the mixture into a lightly greased mold or serving bowl. Smooth the top and cover with plastic wrap. Refrigerate for at least 4 hours or overnight.
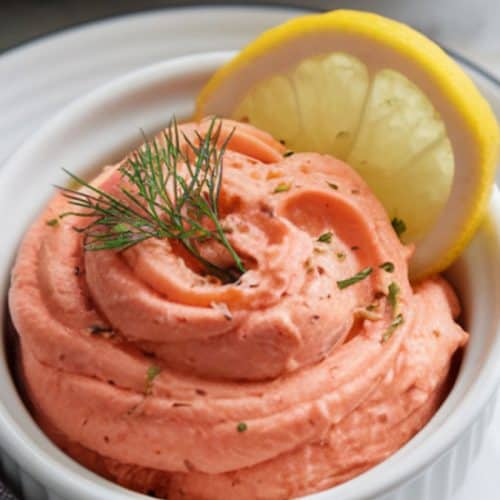
- To unmold, dip the mold briefly in warm water and invert onto a serving plate. Garnish with dill and lemon slices. Serve with crackers or toast.

Top Tips
- Lightly grease your mold with cooking spray to ensure an easy release.
- Don’t overmix the whipped cream it should stay fluffy to keep the mousse light.
- Chill overnight for the best texture and flavor.
- Use fresh dill for a more aromatic, festive flavor kids and adults will love.
- Serve with small crackers or toast points for easy snacking at parties.
Recipe Variations
- Smoked Salmon Mousse: Use smoked salmon for a deeper flavor.
- Spicy Kick: Add a pinch of cayenne or a few dashes of hot sauce.
- Herb Swap: Replace dill with tarragon or chives.
- Mini Mousse Cups: Serve in individual ramekins for personal servings.
Recommended Equipment
- Mixing bowls
- Hand mixer
- Rubber spatula
- Measuring cups and spoons
- Fish or wreath-shaped mold
- Plastic wrap
Make Ahead Tips
This mousse can be made up to 2 days in advance and stored covered in the fridge. Perfect for reducing holiday prep stress!
How to Store and Reheat
- Store: Keep covered in the refrigerator for up to 4 days.
- Reheat: This mousse is meant to be served chilled no reheating needed!
What to Serve With This Recipe
- Assorted crackers or toast points
- Thinly sliced cucumbers or radishes
- Pickled vegetables
- Champagne or a dry white wine
What You Need to Know About This Recipe
Salmon Mousse was a staple at mid-century cocktail parties and holiday gatherings. Its popularity peaked in the 1950s and 60s, especially when molded into intricate shapes like wreaths and fish. Often served on silver trays, it added a touch of elegance to every table. Though it’s fallen out of favor in modern times, its retro charm and savory flavor are worth rediscovering.
More Christmas Recipes
Try these you will love them!

Salmon Mousse
Equipment
- Mixing bowls
- Hand mixer
- Rubber spatula
- Measuring cups and spoons
- Fish or wreath-shaped mold
- Plastic wrap
Ingredients
- 1 14 oz can of salmon, drained and flaked (or 1 cup poached salmon)
- 8 oz cream cheese softened
- 1/2 cup heavy cream whipped
- 2 tbsp lemon juice
- 1 tsp lemon zest
- 2 tbsp fresh dill finely chopped
- 1 envelope 2 1/4 tsp unflavored gelatin
- 1/4 cup warm water
- Salt and pepper to taste
Instructions
- Prepare the Gelatin: In a small bowl, dissolve the unflavored gelatin in warm water. Let it sit for 5 minutes to bloom.
- Blend the Base: In a large mixing bowl, combine the cream cheese, lemon juice, zest, dill, salt, and pepper. Mix until smooth using a hand mixer.
- Add Salmon and Gelatin: Stir in the flaked salmon and bloomed gelatin. Mix until fully incorporated.
- Fold in Whipped Cream: Gently fold in the whipped cream with a rubber spatula to keep the mousse light and airy.
- Mold and Chill: Spoon the mixture into a lightly greased mold or serving bowl. Smooth the top and cover with plastic wrap. Refrigerate for at least 4 hours or overnight.
- Unmold and Serve: To unmold, dip the mold briefly in warm water and invert onto a serving plate. Garnish with dill and lemon slices. Serve with crackers or toast.
Notes
One-Pot Cooking Rocks!

Michelle
Hi, I’m Michelle, the founder, owner, author, and editor of OvenSpot. My passion for one-pot cooking commenced when I was working to prepare cafeteria lunches for school students. I am now on a mission to assist you in choosing the cooking pot or appliance you will use daily. As well as in-depth information to assist you in using and caring for your cookware and appliances. Along with the yummy recipes I use at home.
Questions? Reach out to Michelle at [email protected]