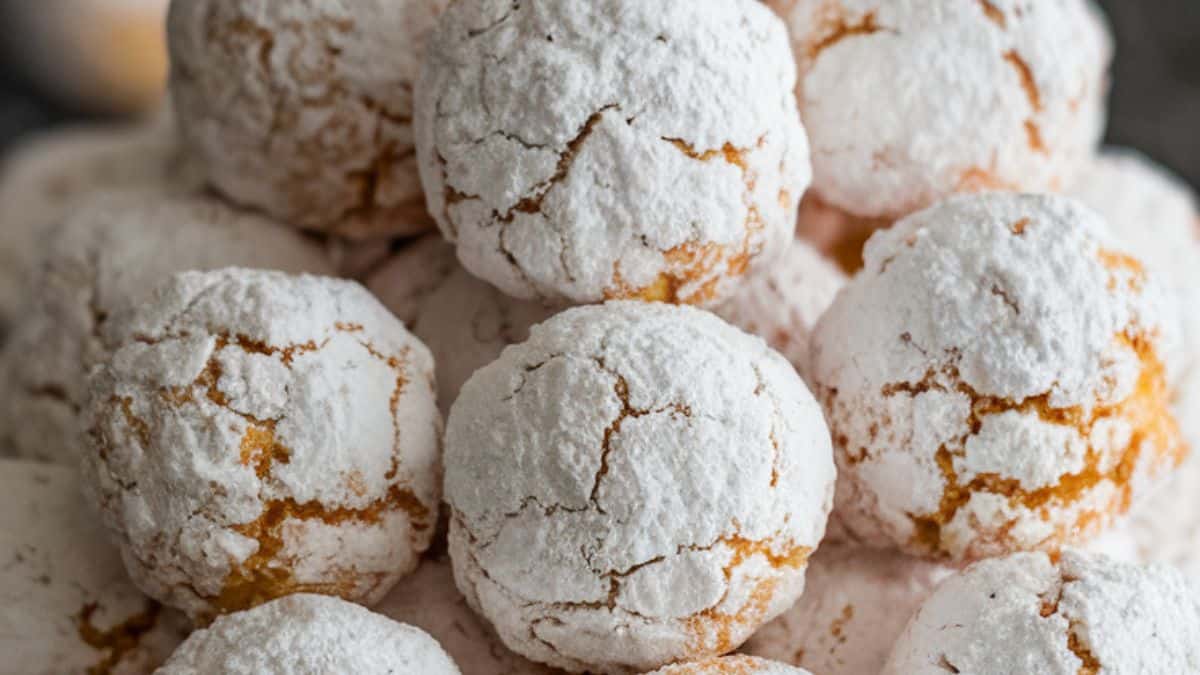
Snowball Cookies: Russian Tea Cakes or Mexican Wedding Cookie
There’s something downright magical about snowball cookies they’re simple, buttery, and irresistibly tender. Every bite dissolves on the tongue, leaving a touch of snowy sweetness that makes them a favorite for families, especially with curious little tasters in tow.
I remember baking my first batch with my kids, rolling cookie dough balls together and laughing as we got powdered sugar everywhere. These cookies are more than a treat they’re a moment to share, to savor, and to smile about.
Why You’ll Love These Cookies
Snowball cookies offer melt-in-your-mouth texture, nutty richness, and child-friendly charm all in one little buttery ball. They’re fuss-free, festive, and always vanish fast at family gatherings.
Simple Ingredients
Here’s what makes this cookie so special (ingredients listed without measurements):
- Unsalted butter: brings rich, soft creaminess.
- Powdered sugar: sweetens the dough and creates the snowy coating.
- All-purpose flour: the simple base that holds everything together.
- Salt: balances sweetness and enhances flavor.
- Vanilla extract: adds warm, comforting aroma.
- Chopped nuts (pecans or walnuts): adds subtle crunch and nutty depth.
Servings & Timing
- Servings: approximately 40–45 cookies
- Prep Time: 25 minutes (plus optional chilling time for easier rolling)
- Cook Time: 12–20 minutes (depends on size and oven)
- Total Time: about 45–60 minutes (including cooling and dusting)
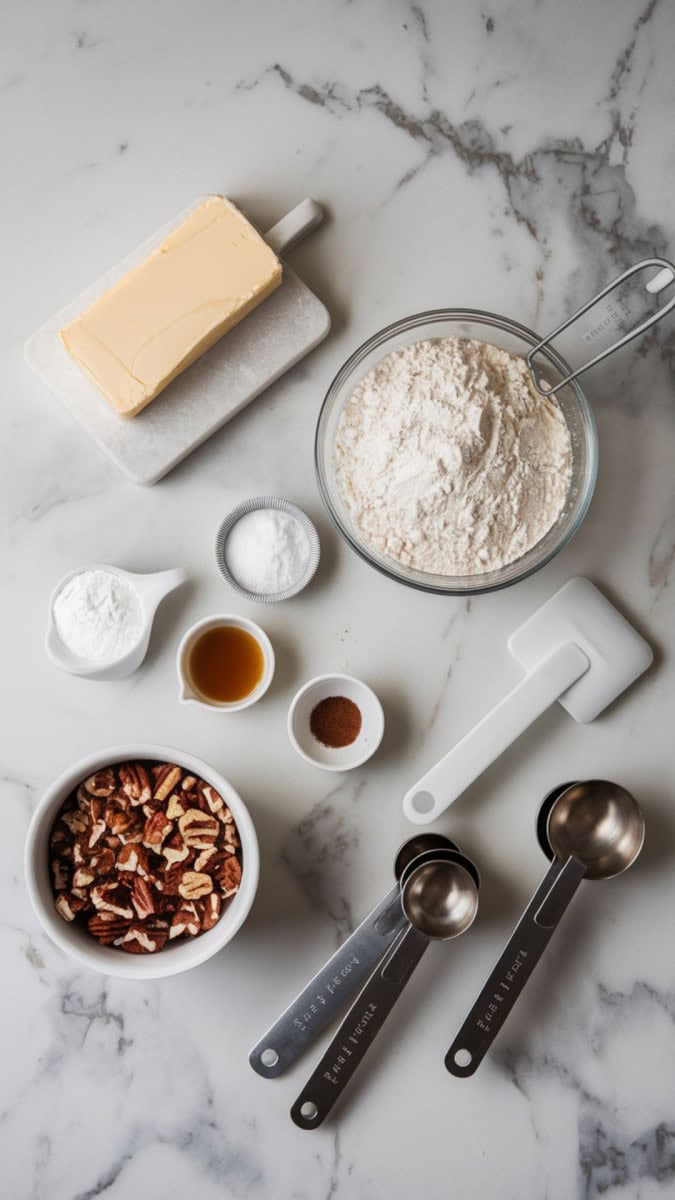
What Is Needed (Full Ingredients List with Measurements)
- 1 cup unsalted butter, softened to room temperature
- ½ cup powdered (confectioners’) sugar, plus extra for rolling
- 2 cups all-purpose flour
- ¼ teaspoon salt
- 1 teaspoon vanilla extract (or almond extract, or a mix)
- 1 cup finely chopped pecans (or walnuts; toasted is optional)
Step-by-Step Instructions (Beginner-Friendly)
1. Preheat the Oven
Start by preheating your oven to 325°F (165°C). This ensures it’s the perfect temperature once your cookies are ready to bake. Then, line a large baking sheet with parchment paper so the cookies don’t stick and bake evenly. Set this aside while you prepare the dough. Tip: Always preheat your oven first most ovens take about 10-15 minutes to heat up fully.
2. Cream the Butter and Sugar
In a large mixing bowl, add 1 cup of softened unsalted butter and ½ cup of powdered sugar. Using an electric hand mixer (or a sturdy spoon and some muscle), beat the two together for about 2–3 minutes until the mixture is light, fluffy, and creamy. Tip: Your butter should be soft to the touch but not melted. If it’s too cold, the dough won’t come together well.
3. Add the Vanilla Extract
Next, add 1 teaspoon of vanilla extract to your creamed butter mixture. Mix again until the vanilla is fully incorporated. This adds that delicious warm flavor that gives these cookies their classic bakery-style taste.
4. Add the Dry Ingredients
Now it’s time to add the dry ingredients. Slowly add 2 cups of all-purpose flour and ¼ teaspoon of salt to the bowl. Mix on low speed (or stir gently) until the dough starts coming together. It may look crumbly at first just keep mixing until it forms a soft dough. Tip: Don’t overmix stop once everything is just combined. The dough should hold together if pressed.
5. Stir in the Chopped Nuts
Add 1 cup of finely chopped pecans or walnuts to the dough. Use a spatula or spoon to gently fold them in until they’re evenly distributed throughout the dough.
Tip: You can toast the nuts beforehand for an even richer flavor. Just make sure they’re cooled before adding to the dough.
6. Form the Dough into Balls
Using your hands or a small cookie scoop, take about 1 tablespoon of dough and roll it between your palms to form a smooth ball, about 1 inch in size. Place each ball on the prepared baking sheet, leaving about an inch between each. Tip: If your dough feels too soft or sticky, place it in the fridge for 20–30 minutes to firm it up before rolling.
7. Bake the Cookies
Carefully place the baking sheet into your preheated oven. Bake the cookies for 12 to 20 minutes, depending on their size. You’ll know they’re done when the bottoms are just turning golden but the tops stay pale. They should feel set but not browned. Tip: Every oven is a bit different, so start checking them at the 12-minute mark.
8. First Powdered Sugar Roll (While Warm)
As soon as the cookies come out of the oven and are cool enough to touch (but still warm), roll them in a bowl of powdered sugar. This first coating sticks better when the cookies are warm. Place them on a wire rack to cool completely.
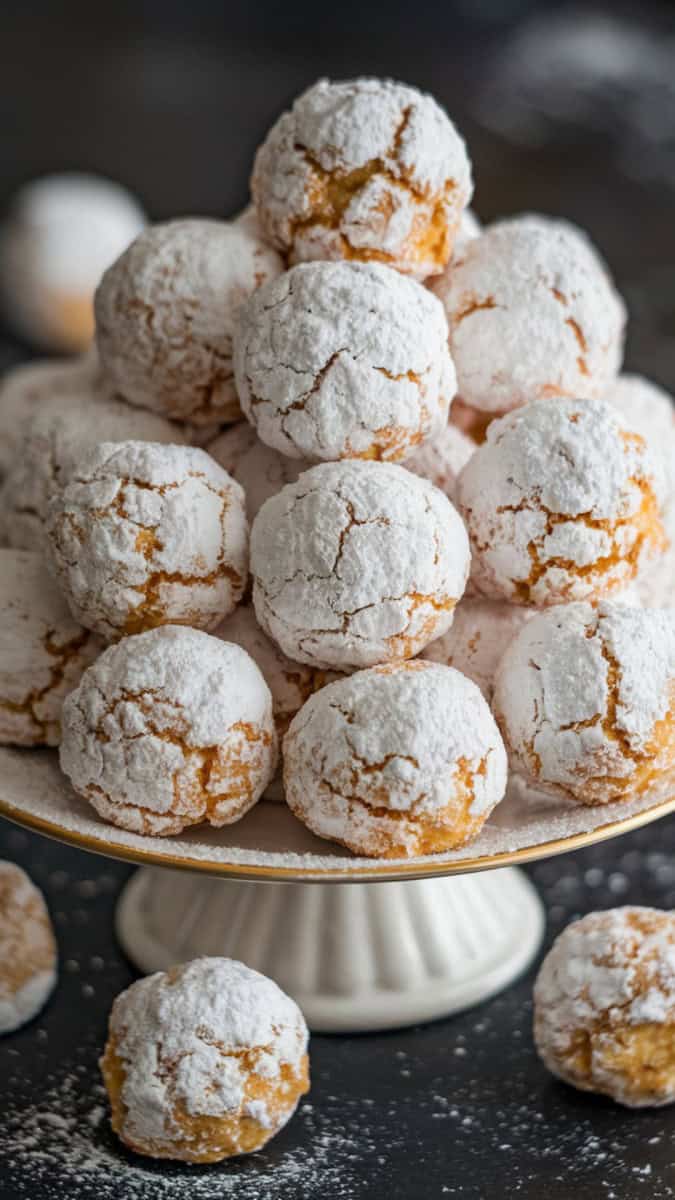
9. Final Powdered Sugar Coating (After Cooling)
Once the cookies have cooled completely, give them a second roll in powdered sugar for that perfect snowy look. This final coating adds that classic snowball sweetness and makes the cookies look beautiful on a holiday tray!
Top Tips
- Flour measurement matters: fluff flour before scooping to avoid dry, dense dough
- Double sugar coating: roll warm cookies once, then again when cool for perfect snowball appearance
- Chill sticky dough: for easy rolling, refrigerate balls briefly before baking
- Nut variety: pecans work beautifully, but walnuts, almonds, or pistachios are all classic and delicious
- Kid-friendly task: let the kids help roll dough balls it’s fun, simple, and lightly messy in the best way!
Recipe Variations
- Swap nuts: walnuts, almonds, or pistachios
- Add ½ tsp cinnamon for a hint of spice
- Stir in mini chocolate chips, shredded coconut, or crushed peppermint for festive fun
- Try brown butter version for extra caramel flavor
Recommended Equipment
- Mixing bowl
- Electric mixer (hand or stand) or wooden spoon
- Measuring cups and spoons
- Baking sheets lined with parchment
- Cooling rack
- Mixing spatula
Make-Ahead Tips
You can freeze shaped dough balls on a tray, then transfer to a freezer bag for up to 3 months bake directly from frozen, adding a minute or two to bake time.
How to Store & Reheat
Store in an airtight container at room temperature for up to 1 week the sugar coating keeps them fresh-looking. For a quick refresh, warm gently in the oven (160 °C / 325 °F) for a minute or two, then dust with sugar again if needed.
What to Serve With This Recipe
These cookies pair wonderfully with warm cocoa, milk, tea, or coffee perfect for little hands or cozy holiday trays.
What You Need to Know About This Recipe
Snowball cookies go by many names Mexican wedding cookies, Russian tea cakes, Butterballs but they’re all the same tender, nutty shortbread delights rolled in powdered sugar.
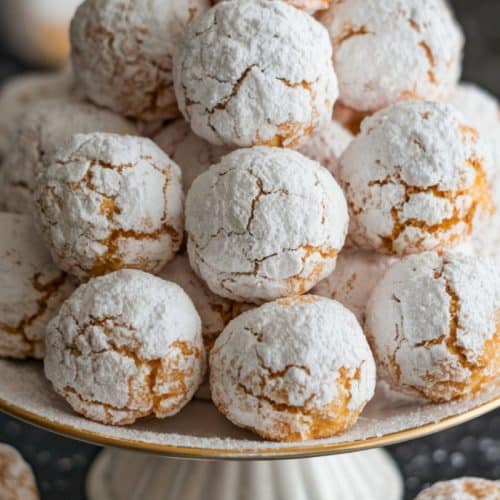
Their quick and simple preparation, melt-in-your-mouth texture, and nostalgic appeal have made them an enduring holiday favorite across cultures Whether you’re sharing them at family gatherings or baking with little ones, these are pure, joyful comfort in cookie form.
More Christmas Recipes
Try these you will love them!

Snowball Cookies
Equipment
- Mixing bowl
- Electric mixer (hand or stand) or wooden spoon
- Measuring cups and spoons
- Baking sheets lined with parchment
- Cooling rack
- Mixing spatula
Ingredients
- 1 cup unsalted butter softened to room temperature
- ½ cup powdered confectioners’ sugar, plus extra for rolling
- 2 cups all-purpose flour
- ¼ teaspoon salt
- 1 teaspoon vanilla extract or almond extract, or a mix
- 1 cup finely chopped pecans or walnuts; toasted is optional
Instructions
- Preheat the Oven: Start by preheating your oven to 325°F (165°C). This ensures it’s the perfect temperature once your cookies are ready to bake. Then, line a large baking sheet with parchment paper so the cookies don’t stick and bake evenly. Set this aside while you prepare the dough.
- Cream the Butter and Sugar: In a large mixing bowl, add 1 cup of softened unsalted butter and ½ cup of powdered sugar. Using an electric hand mixer (or a sturdy spoon and some muscle), beat the two together for about 2–3 minutes until the mixture is light, fluffy, and creamy.
- Add the Vanilla Extract: Next, add 1 teaspoon of vanilla extract to your creamed butter mixture. Mix again until the vanilla is fully incorporated. This adds that delicious warm flavor that gives these cookies their classic bakery-style taste.
- Add the Dry Ingredients: Now it’s time to add the dry ingredients. Slowly add 2 cups of all-purpose flour and ¼ teaspoon of salt to the bowl. Mix on low speed (or stir gently) until the dough starts coming together. It may look crumbly at first just keep mixing until it forms a soft dough.
- Stir in the Chopped Nuts: Add 1 cup of finely chopped pecans or walnuts to the dough. Use a spatula or spoon to gently fold them in until they’re evenly distributed throughout the dough.
- Form the Dough into Balls: Using your hands or a small cookie scoop, take about 1 tablespoon of dough and roll it between your palms to form a smooth ball, about 1 inch in size. Place each ball on the prepared baking sheet, leaving about an inch between each. Tip: If your dough feels too soft or sticky, place it in the fridge for 20–30 minutes to firm it up before rolling.
- Bake the Cookies: Carefully place the baking sheet into your preheated oven. Bake the cookies for 12 to 20 minutes, depending on their size. You’ll know they’re done when the bottoms are just turning golden but the tops stay pale. They should feel set but not browned. Tip: Every oven is a bit different, so start checking them at the 12-minute mark.
- First Powdered Sugar Roll (While Warm): As soon as the cookies come out of the oven and are cool enough to touch (but still warm), roll them in a bowl of powdered sugar. This first coating sticks better when the cookies are warm. Place them on a wire rack to cool completely.
- Final Powdered Sugar Coating (After Cooling): Once the cookies have cooled completely, give them a second roll in powdered sugar for that perfect snowy look. This final coating adds that classic snowball sweetness and makes the cookies look beautiful on a holiday tray!
Notes
- Chill dough briefly if sticky to make rolling easier
- Measure flour using “fluff & scoop” for the best texture
- Roll cookies twice in powdered sugar for classic look & taste
One-Pot Cooking Rocks!

Michelle
Hi, I’m Michelle, the founder, owner, author, and editor of OvenSpot. My passion for one-pot cooking commenced when I was working to prepare cafeteria lunches for school students. I am now on a mission to assist you in choosing the cooking pot or appliance you will use daily. As well as in-depth information to assist you in using and caring for your cookware and appliances. Along with the yummy recipes I use at home.
Questions? Reach out to Michelle at [email protected]