Unique Pumpkin Carving Ideas: The Layered, Shaved Technique That Looks Like Art
Most pumpkin carving comes down to one move: cut all the way through, let the light shine out. This technique does something different. Instead of cutting through, you shave away the outer skin in stages a little here. A little more there so the pumpkin itself becomes the shading.
When a candle goes on inside, you don’t just get a lit-up shape. You get depth: bright centers, soft halos, shadow where the rind is still thick. It reads more like a woodcut print than a jack-o’-lantern.
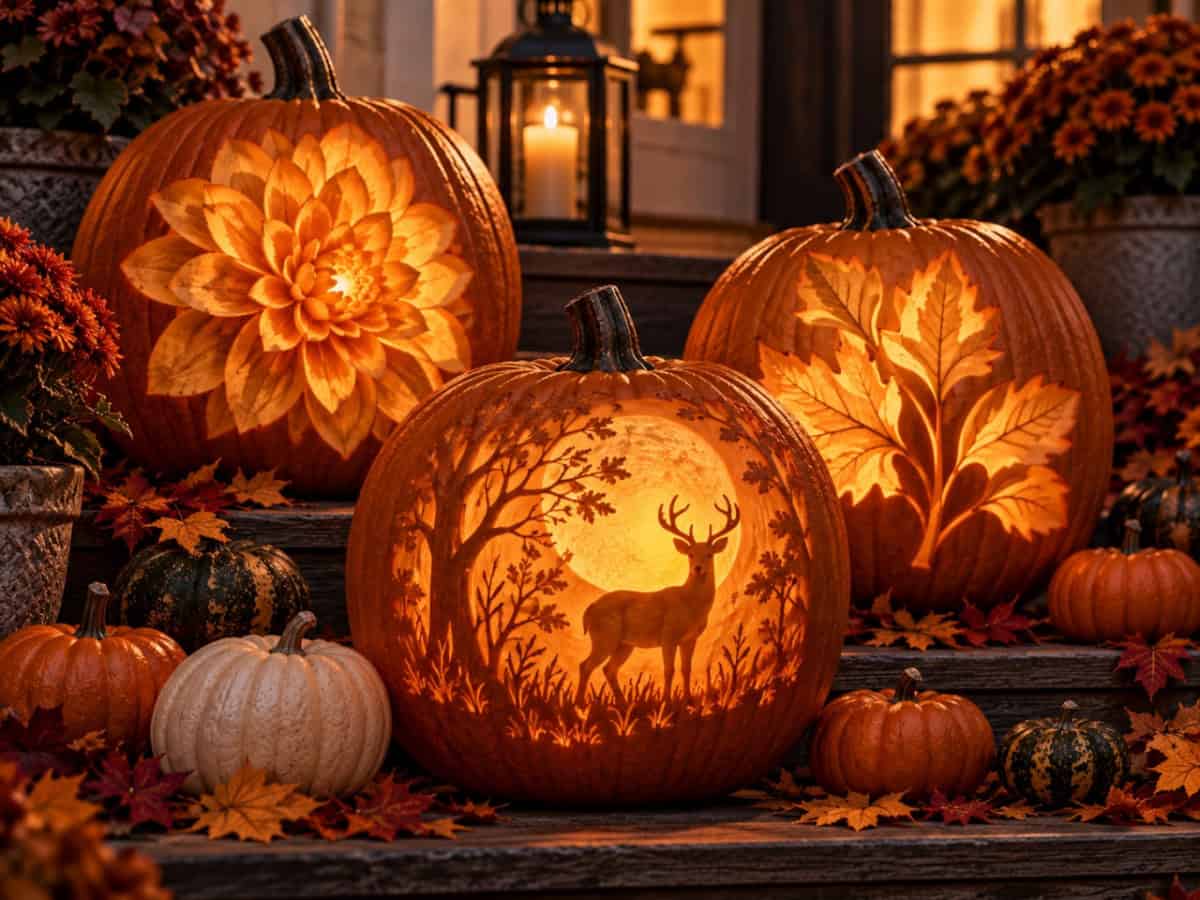
It takes a bit more patience than the average porch pumpkin, but nothing about it requires special skill you don’t already have. If you can peel a potato, you can do this.
What “Layered” Carving Actually Means
A classic carved pumpkin is binary either the knife went through, or it didn’t. Layered carving works in gradients instead. You’re removing the skin at different depths across the same design:
- Full cut-through for the brightest points the center of a flower, the glow of a moon
- Skin shaved down to the pale flesh for mid-tones petals, tree branches, fur
- Skin barely scored for the faintest shading background texture, distant shapes
Because the pumpkin’s flesh gets paler the deeper you go, each depth glows a slightly different shade once it’s lit. That’s the whole trick. You’re not carving a picture you’re carving light.
What You’ll Need
- A fresh pumpkin with smooth, unblemished skin (bumps and ridges fight you on detail work)
- A basic carving knife for any full cut-through areas
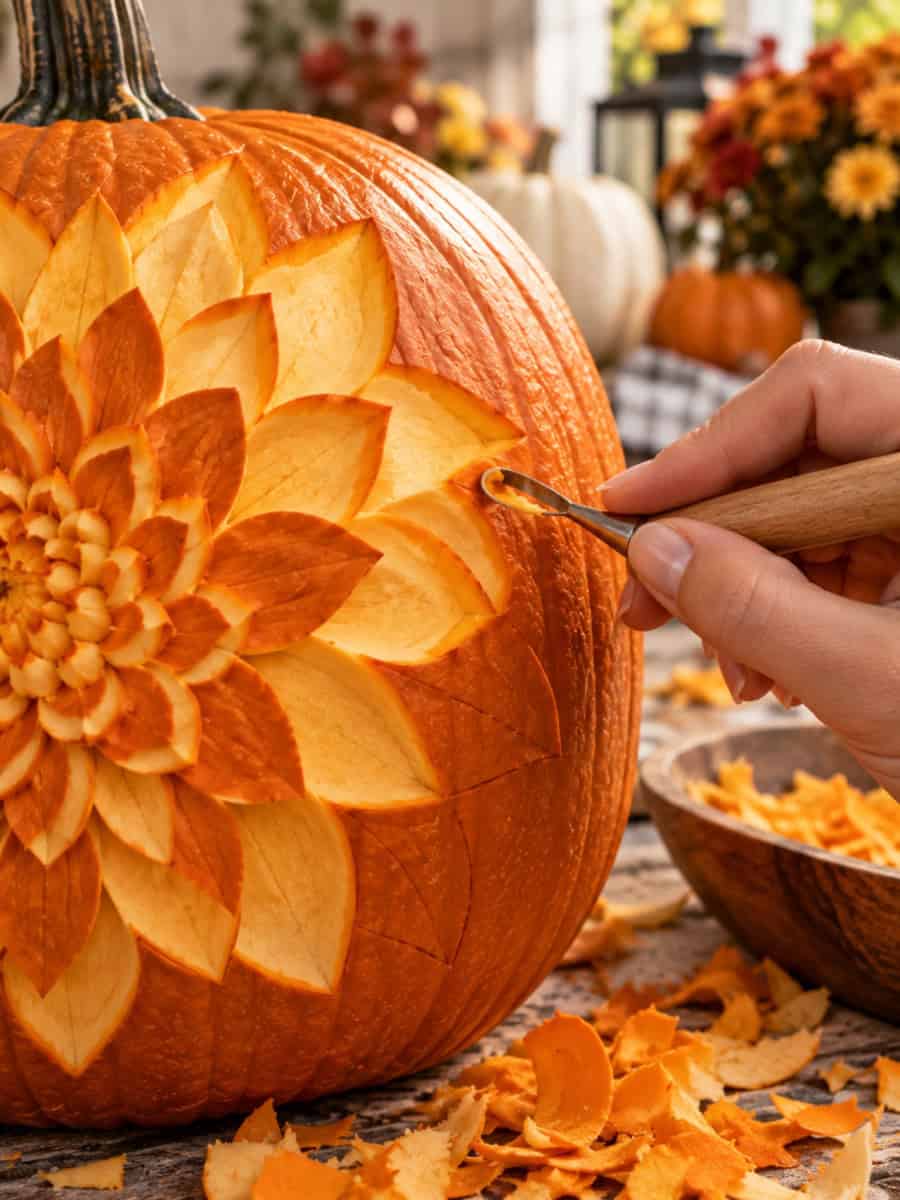
- A clay carving tool or a small metal spoon for shaving the skin down in layers
- A linoleum cutter or pottery loop tool if you want cleaner, more even shaved lines
- A printed design or stencil, taped in place
- A pin or embosser tool to trace the design through the paper and onto the skin
- A battery tea light or LED puck light (a lot of carvers skip real flame here, since these designs are shallower and thinner in spots than a traditional carve)
How to Carve It, Step by Step
- Clean it out first. Cut a hole in the bottom (not the top it sits flatter and hides the opening) and scoop the pumpkin hollow. Thin the inner wall near your design area to about half an inch, so light passes through more evenly.
- Trace your design onto the skin. Tape your printed template to the pumpkin and trace over the lines with a pin, pressing just hard enough to leave a dotted outline in the skin.
- Start with your darkest, deepest areas. Cut all the way through the skin and flesh wherever you want the brightest glow this is usually your focal point, like the center of a flower or a moon behind a silhouette.
- Work outward in shaved layers. Using your clay tool or spoon, scrape away just the outer skin around your cut-through area, leaving the pale flesh exposed but intact. This is where most of the “art” happens, so go slow and check your progress against a light source as you go.
- Add the faintest layer last. For background texture or the softest shading, just score the very surface of the skin enough to thin it, not enough to expose the flesh underneath.
- Light it and step back. This is the step that tells you if you’ve gone deep enough. Shine a light inside and look at the whole design from a few feet away you can always shave a section a little deeper, but you can’t undo a cut.
Pumpkin carving ideas creative designs for Halloween. If you’d rather start with a classic cut-through design before trying something more advanced, our full pumpkin carving guide has beginner-friendly patterns to practice on first.
Design Ideas to Try
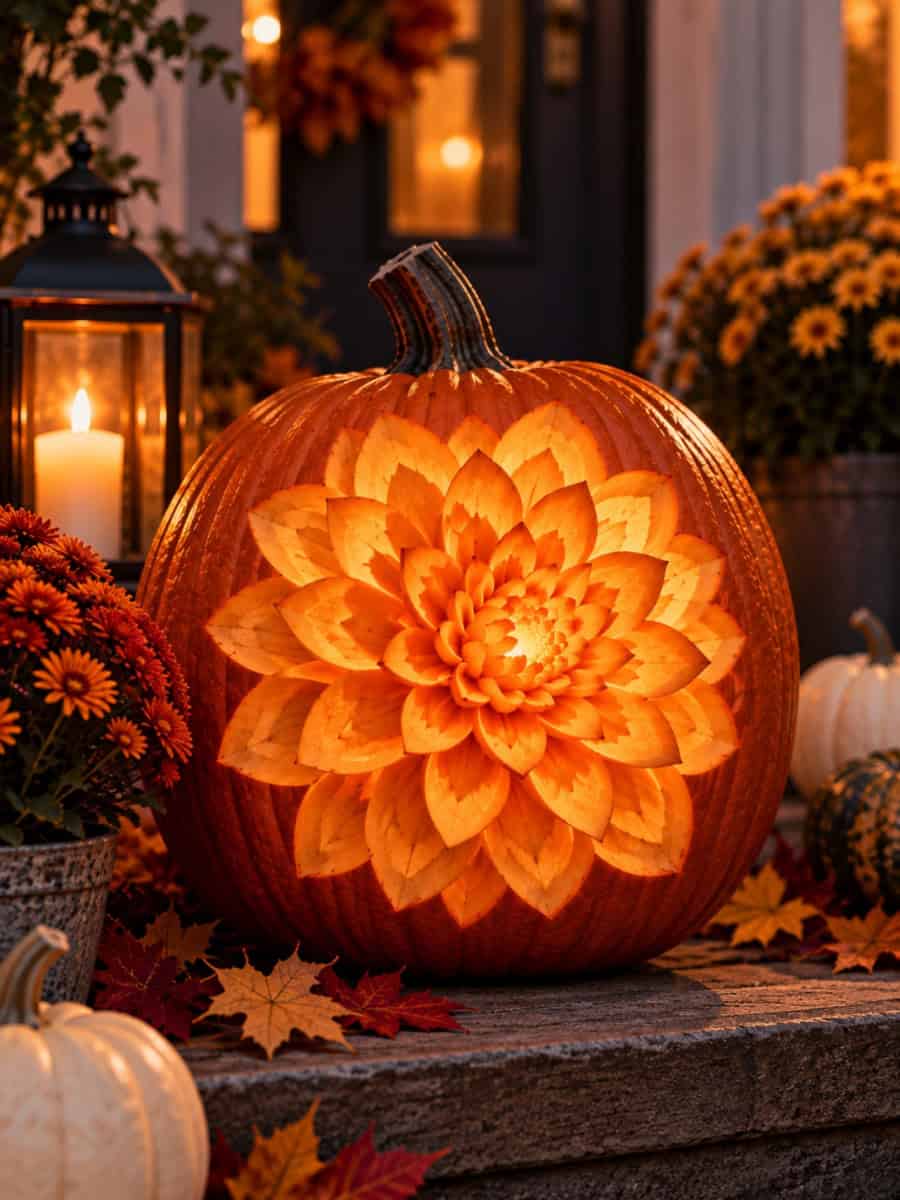
Botanical and floral. A single oversized bloom a dahlia, a peony, a sunflower carved petal by petal is one of the most forgiving places to start, since each petal is its own small shape you can shade independently.
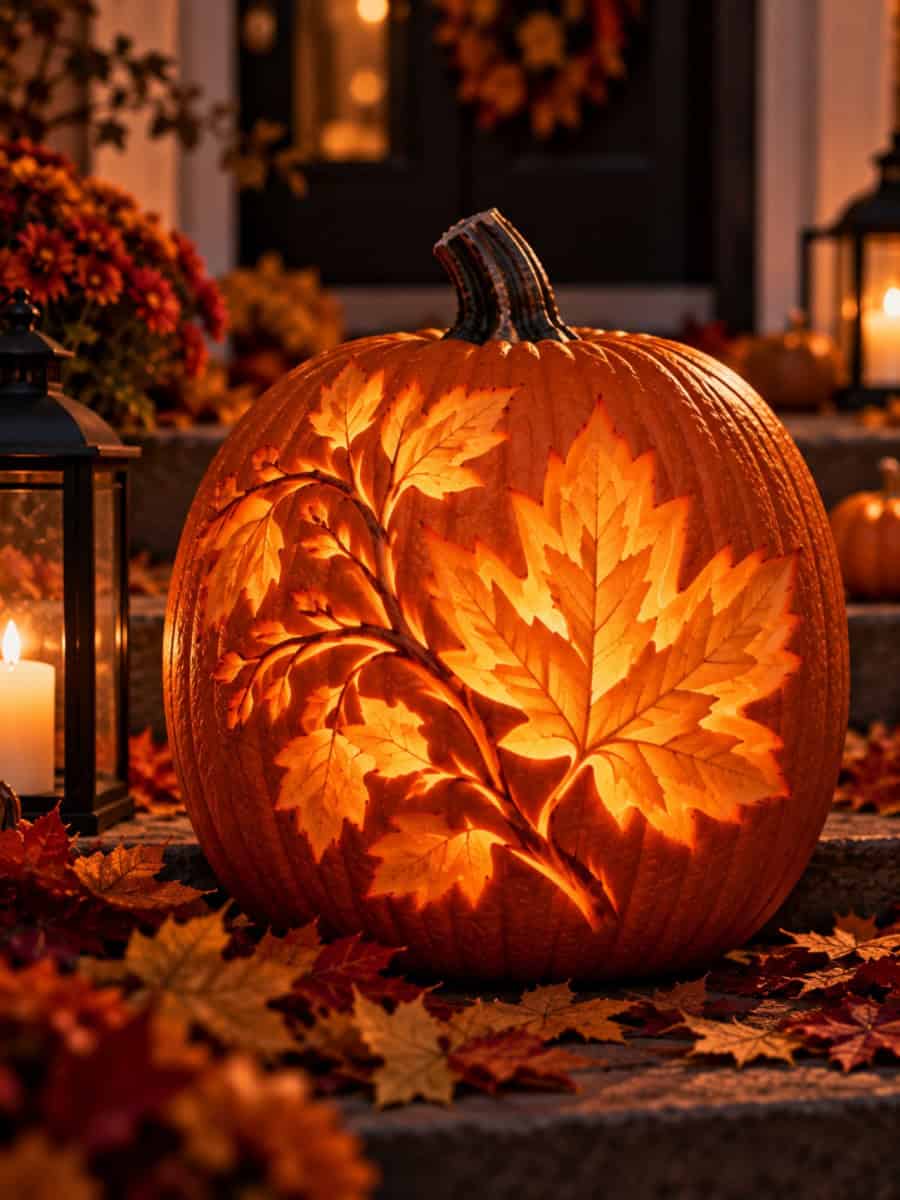
Leaves and branches. A maple leaf or an oak branch carved in layers picks up the same variation you’d see in a pressed leaf held up to a window veins in the deepest cut, the leaf body shaved lighter, the background barely scored.
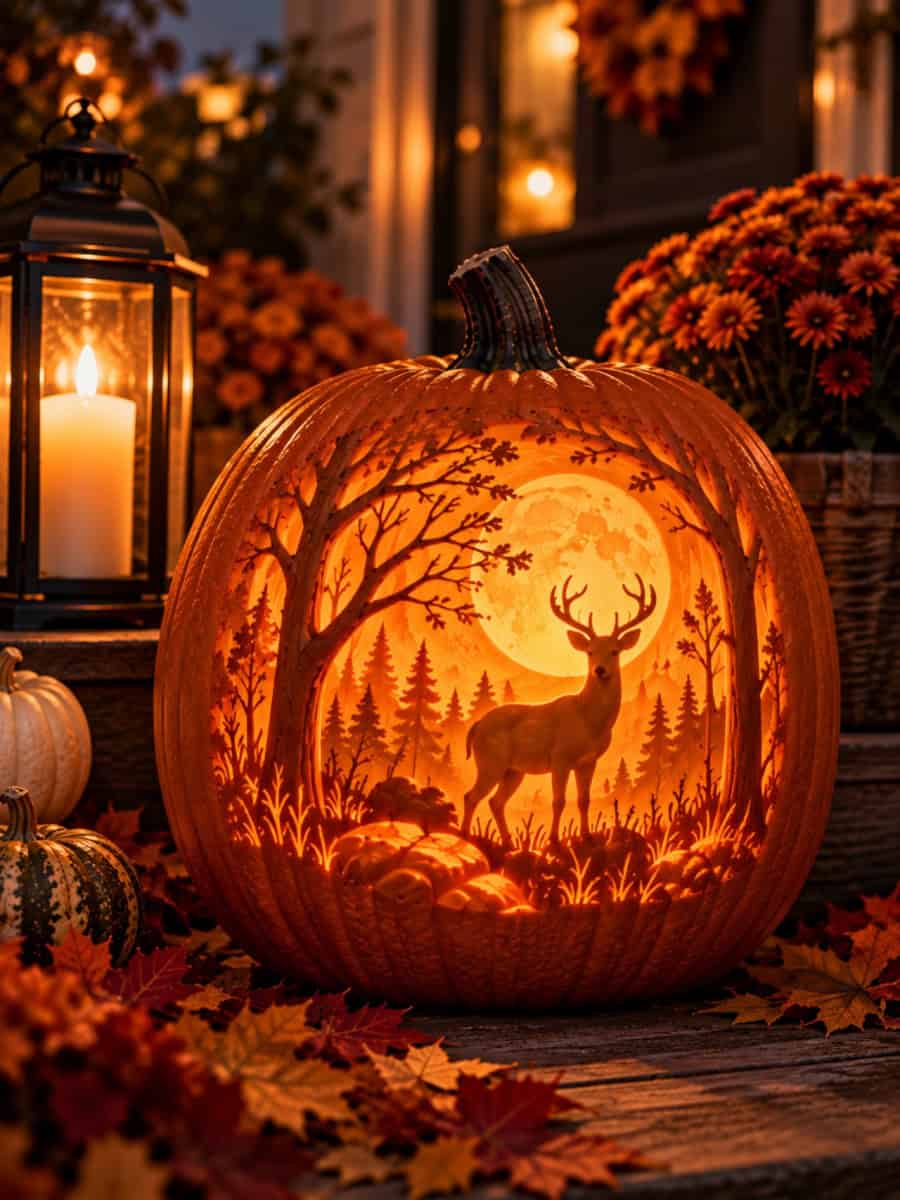
Woodland scenes. A deer silhouette against a full moon, framed by bare branches, is the most dramatic use of this technique. The moon cut all the way through as the brightest point, the deer and trees shaved to a soft silhouette in front of it.
Portraits and faces. More advanced, but layered shaving is how professional pumpkin carvers get that lifelike. Almost photographic look soft shadow under the eyes, highlight along the cheekbone.
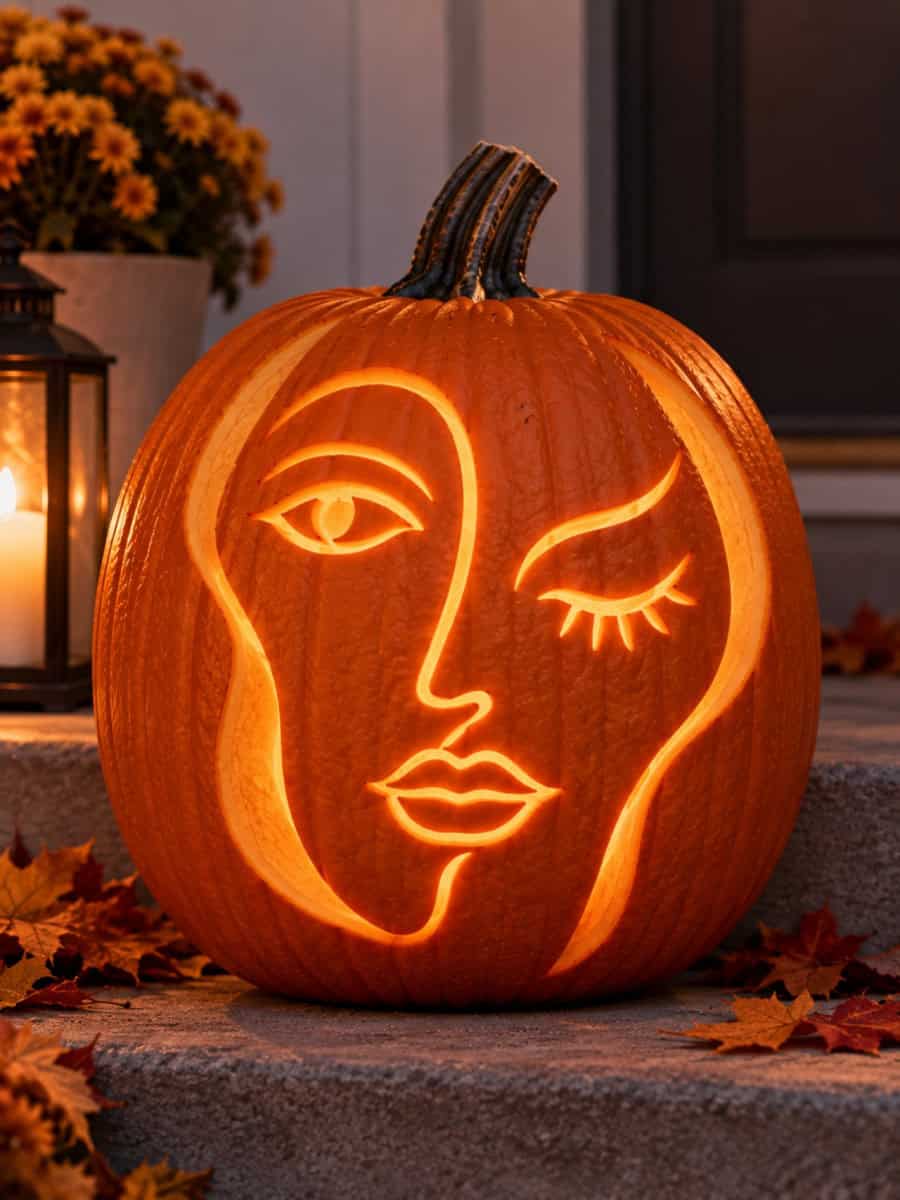
Minimalist and modern faces. This is the same layered technique, just with the volume turned down. Instead of shading a full scene, you’re cutting one clean, abstract expression a single curved line for a mouth. Two simple triangles for eyes and using a shallow shave around the edges instead of a hard cut-through. The result reads more like a piece of line art than a traditional jack-o’-lantern face, and it’s actually one of the easier places to start, since there’s so little to carve.
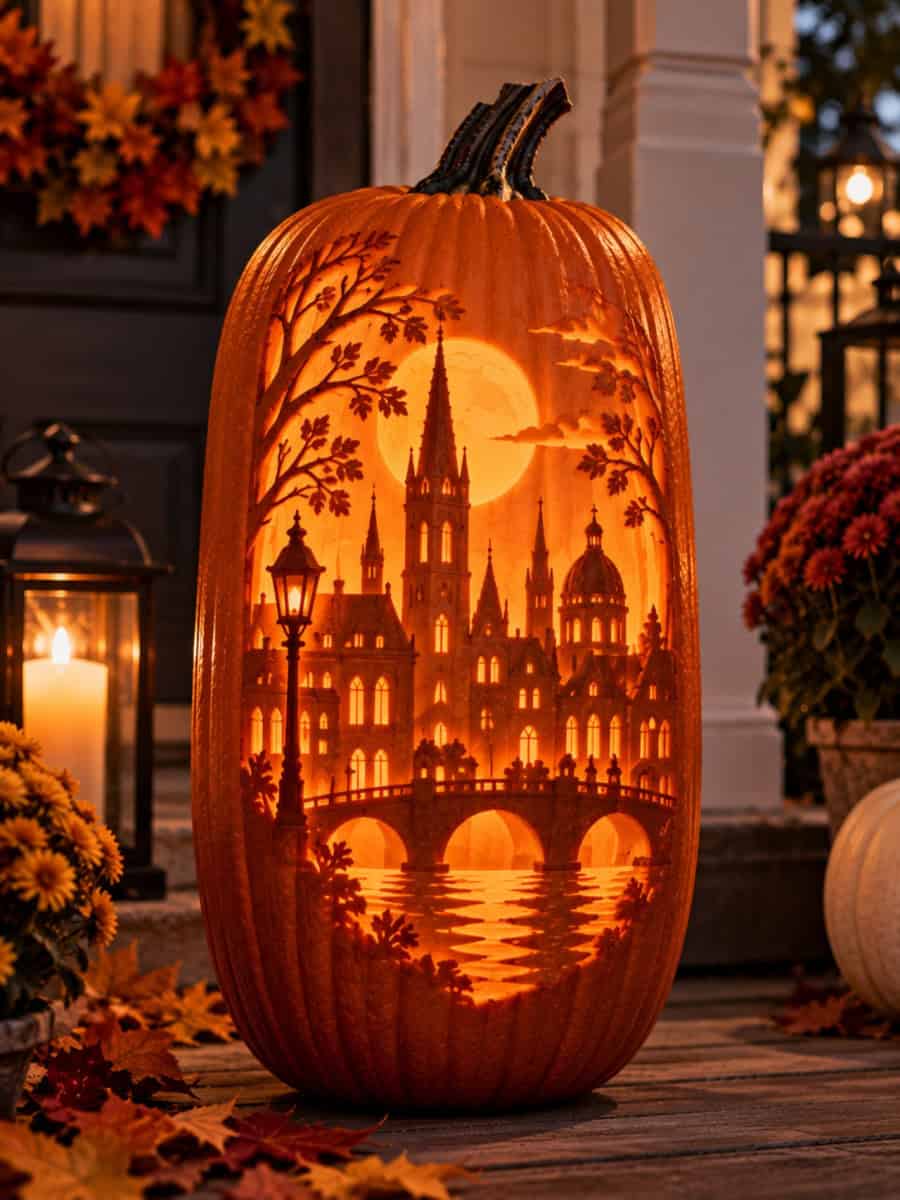
Skylines and architecture. Windows cut through, the building shaved into shadow this one works especially well on taller, narrower pumpkins.
Advanced textures. Once you’re comfortable shaving in layers, a linoleum cutter opens up finer detail work the kind of piece that looks etched rather than carved. Think a skull rendered like a woodcut portrait, tree bark or wood-grain patterns scraped into the rind, or a cracked, weathered “zombie skin” texture across the whole surface. This is the slowest version of the technique, worked in small sections at a time, but it’s where layered carving stops looking like a Halloween craft and starts looking like art.

A Few Things That Make or Break This Technique
- Pick a pumpkin with thin, even flesh. Ask at the farm stand or check by pressing gently a pumpkin with wildly uneven wall thickness will carve unevenly no matter how careful you are.
- Work in daylight, then test at night. The shading is nearly invisible in full light and only shows up once it’s lit, so check your progress with a flashlight from the inside as you carve, not just at the end.
- Go slower than feels necessary. You can always remove more skin. You can’t put it back.
- These don’t last as long as a simple carve. The thinner areas dry out and shrink faster, so plan to carve within a day or two of display, and keep it out of direct sun.
50+ pumpkin painting ideas If you would prefer to skip the knife altogether? These no-carve pumpkin painting ideas get you a similar showpiece effect with just a brush.”
FAQ
Do I need special tools for this? Not really, a basic pumpkin carving kit with a small loop or clay tool covers it. The technique is more about patience than equipment.
Can beginners do this? Yes, especially with a simple design like a single flower or leaf. Save portraits and detailed scenes for after your first attempt.
Will it rot faster than a regular carved pumpkin? The shaved areas are more exposed to air, so yes expect a few days less life than a traditional carve. Keeping it cool and out of direct sun helps.
What light should I use? LED tea lights or a small puck light work best. Real flame can scorch the thinner shaved areas and creates uneven heat that speeds up wilting.
50+ types of pumpkins Smooth-skinned varieties carve the cleanest for this technique see which types work best in our pumpkin variety guide.

Michelle
Hi, I’m Michelle, the founder, owner, author, and editor of OvenSpot. My passion for one-pot cooking commenced when I was working to prepare cafeteria lunches for school students. I am now on a mission to assist you in choosing the cooking pot or appliance you will use daily. As well as in-depth information to assist you in using and caring for your cookware and appliances. Along with the yummy recipes I use at home.
Questions? Reach out to Michelle at [email protected]