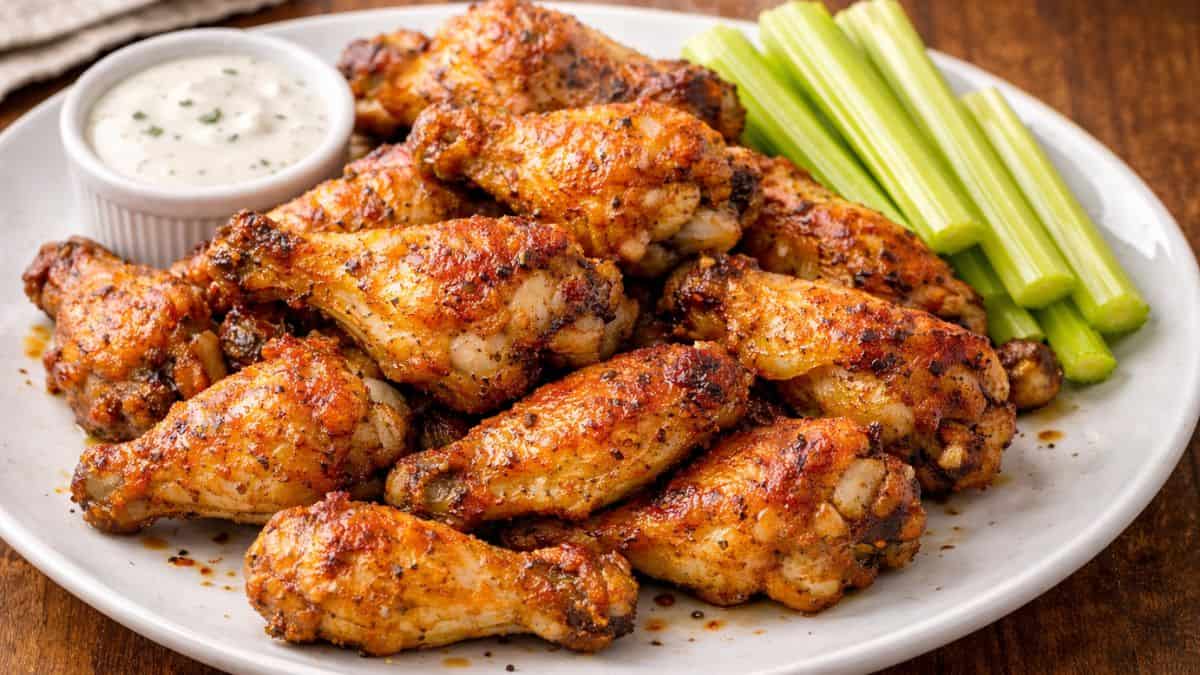
Crispy Baked Chicken Wings for Game Day and Busy Nights
These crispy baked chicken wings are my go-to when everyone wants “takeout vibes,” but I want something easy, affordable, and hands-off. You get that crackly, golden skin and juicy middle without a fryer, without splatters, and without babysitting a pot of oil.
I’ve made these for family movie nights, weekend footy, and last-minute friends popping by, and they disappear every single time (with lots of sticky fingers and happy faces).
Why You’ll Love These Crispy Baked Chicken Wings
You’re going to love these wings because they’re the perfect mix of crispy and juicy, and the oven does all the heavy lifting. Baking on a rack lets the heat circulate so the skin renders and turns crackly, and the simple seasoning makes them crowd-pleasing for kids while still totally delicious for grown-ups. Wings have long been a party favorite, especially for game days, and this baked version keeps the fun but skips the mess of deep frying.
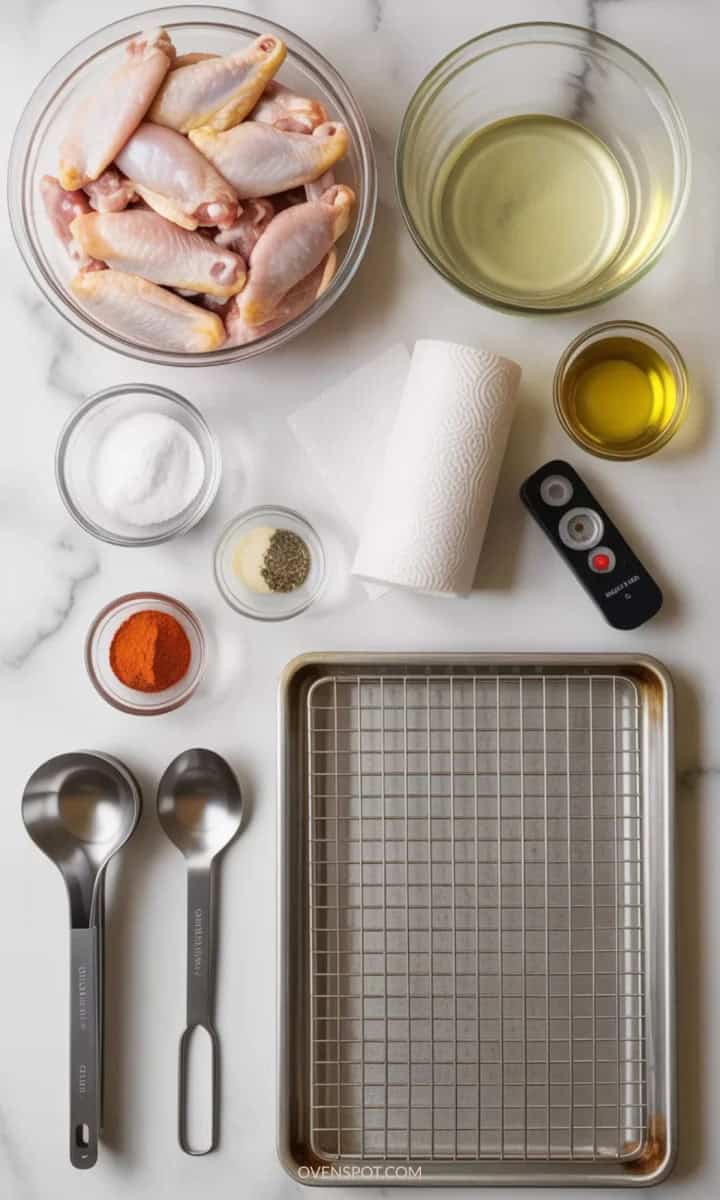
Simple Ingredients
A short, sweet list because wings don’t need much to be amazing.
- Chicken wings: Fresh or thawed wings work best; drying them well is the secret to crisp skin.
- Baking powder (aluminum-free): This helps the skin dry out and crisp up in the oven (it’s a game changer).
- Salt: Brings out the flavor and helps season the wings all the way through.
- Black pepper: Adds a gentle warmth and keeps the seasoning classic and kid-friendly.
- Garlic powder: Gives that savory flavor everyone loves without overpowering.
- Paprika: Adds color and a subtle smoky sweetness (great even for picky eaters).
- Olive oil (optional): Just a tiny bit helps spices cling, especially if your wings are very lean/dry.
Recommended Equipment
A wire rack that fits inside a baking tray
Baking tray (sheet pan)
Large mixing bowl
Paper towels
Measuring spoons
Tongs
Instant-read thermometer (optional but helpful)
Servings and Timing
Servings: 4
Preparation time: 10 minutes
Cook time: 45–55 minutes
Total time: 55–65 minutes
What is Needed
- Chicken wings (about 2 kg / 4.5 lb), split drumettes and flats
- Baking powder (aluminum-free), 2 tablespoons
- Salt, 1 ½ teaspoons
- Black pepper, 1 teaspoon
- Garlic powder, 1 ½ teaspoons
- Paprika, 1 ½ teaspoons
- Olive oil (optional), 1 tablespoon
Instructions
- Use paper towels to thoroughly pat the chicken wings dry. The drier they are, the crispier they’ll bake.
- Preheat oven to 220°C (425°F). Place a wire rack inside a baking tray so air can circulate under the wings.
- In a large mixing bowl, combine baking powder, salt, pepper, garlic powder, and paprika. Add wings (and olive oil if using) and toss until evenly coated.
- Lay wings in a single layer on the wire rack with a little space between each one (this helps them crisp instead of steaming).
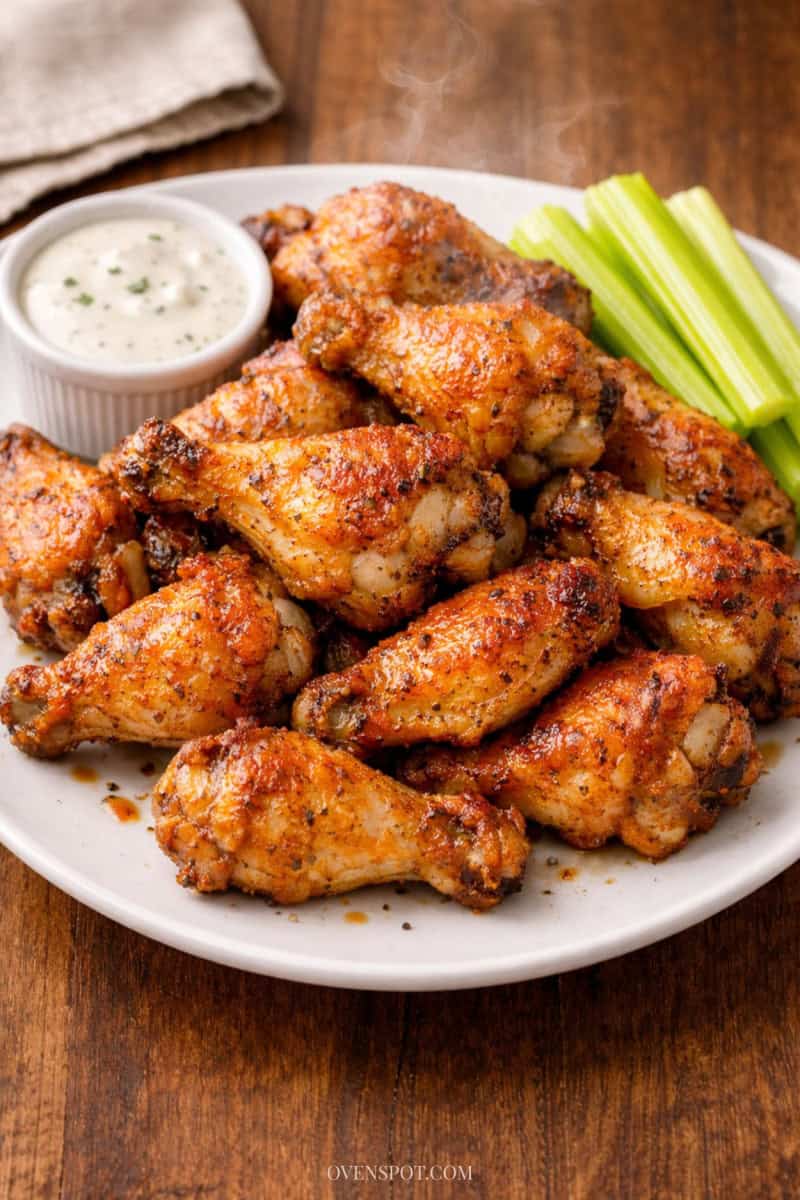
- Bake for 45–55 minutes, flipping the wings halfway through. They’re done when the skin is deeply golden and crisp.
- If using a thermometer, aim for at least 74°C (165°F) in the thickest part.
- Wings are crispiest right out of the oven. Add your favorite sauce or keep them dry-rub style.
What To Serve With This Recipe
- Celery and carrot sticks
- Ranch or blue cheese dip
- Corn on the cob (OvenSpots corn on the cob recipe)
- Potato wedges or oven chips
- Simple coleslaw (OvenSpots coleslaw recipe)
- Mac and cheese (OvenSpots easy mac and cheese recipe)
- A crunchy garden salad
Top Tips
Dry them like you mean it. Patting wings dry is the biggest crispiness secret. Don’t rush this step.
Use aluminum-free baking powder. It helps crisp the skin without any weird aftertaste.
Don’t crowd the tray. Space lets the heat circulate, crowded wings steam and go soft.
Make-ahead friendly. Season the wings and leave them uncovered in the fridge for a few hours (or overnight) to dry the skin even more.
Kid-friendly serving idea. Serve “wing boards” with dips and veggie sticks so kids can choose their own sides.
Recipe Variations
- Buffalo-style: Toss hot wings in melted butter + buffalo sauce after baking.
- Honey soy: Brush with a mix of honey, soy sauce, and a little garlic in the final 5 minutes.
- Lemon pepper: Swap paprika for lemon zest and extra cracked pepper.
- BBQ: Toss with BBQ sauce after baking (or broil briefly to caramelize).
- Spicy version: Add a pinch of cayenne or chili powder to the seasoning mix.
How to Store and Reheat
- To store: Cool completely, then refrigerate in an airtight container for up to 3–4 days.
- To reheat for crispiness: Reheat on a wire rack over a tray at 200°C (400°F) for 10–15 minutes until hot and crisp again. Air fryer reheating also works brilliantly if you have one (but the oven method is great).
- To freeze: Freeze cooked wings in a single layer, then transfer to a freezer bag for up to 2 months.
If you want more wing nights in your back pocket, try my;

Crispy Baked Chicken Wings
Equipment
- Wire rack that fits inside a baking tray
- Baking tray (sheet pan)
- Large mixing bowl
- Paper towels
- Measuring spoons
- Tongs
- Instant-read thermometer (optional but helpful)
Ingredients
- Chicken wings about 2 kg / 4.5 lb, split drumettes and flats
- Baking powder aluminum-free, 2 tablespoons
- Salt 1 ½ teaspoons
- Black pepper 1 teaspoon
- Garlic powder 1 ½ teaspoons
- Paprika 1 ½ teaspoons
- Olive oil optional, 1 tablespoon
Instructions
- Pat the wings dry: Use paper towels to thoroughly pat the chicken wings dry. The drier they are, the crispier they’ll bake.
- Preheat the oven and set up the tray: Preheat oven to 220°C (425°F). Place a wire rack inside a baking tray so air can circulate under the wings.
- Season the wings: In a large mixing bowl, combine baking powder, salt, pepper, garlic powder, and paprika. Add wings (and olive oil if using) and toss until evenly coated.
- Arrange on the rack: Lay wings in a single layer on the wire rack with a little space between each one (this helps them crisp instead of steam).
- Bake until crispy: Bake for 45–55 minutes, flipping the wings halfway through. They’re done when the skin is deeply golden and crisp.
- Check doneness (optional but recommended): If using a thermometer, aim for at least 74°C (165°F) in the thickest part.
- Serve immediately: Wings are crispiest right out of the oven. Add your favorite sauce or keep them dry-rub style.
Notes
- For extra crispy wings, pat dry thoroughly and let the seasoned wings rest uncovered in the fridge for a few hours or overnight.
- Use aluminum-free baking powder for the best flavor.
- Don’t overcrowd the rack airflow is key.

Michelle
Hi, I’m Michelle, the founder, owner, author, and editor of OvenSpot. My passion for one-pot cooking commenced when I was working to prepare cafeteria lunches for school students. I am now on a mission to assist you in choosing the cooking pot or appliance you will use daily. As well as in-depth information to assist you in using and caring for your cookware and appliances. Along with the yummy recipes I use at home.
Questions? Reach out to Michelle at [email protected]