How to Cook Rice in a Cast Iron Dutch Oven (Easy Recipe)
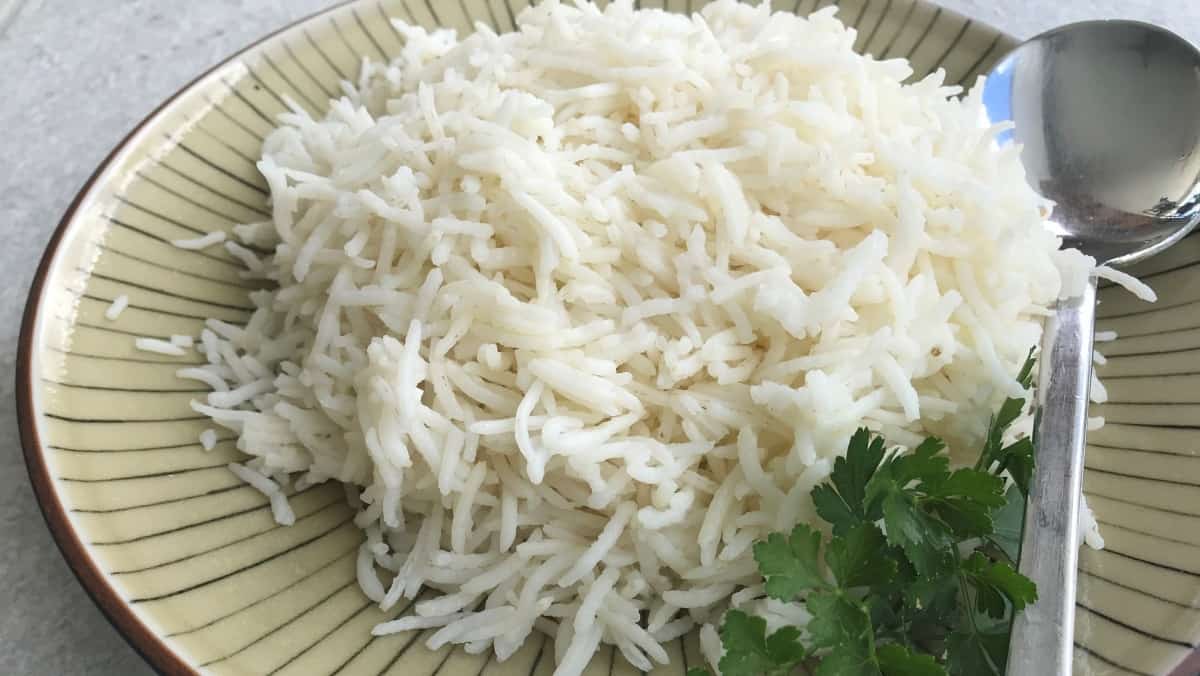
Ever wondered if you can cook rice in a Dutch oven? Well, you can, and I will show you how to cook rice to perfection every time in a cast-iron Dutch oven. Follow my recipe below, and you will serve up the best fluffy rice, white rice, or brown rice every time.
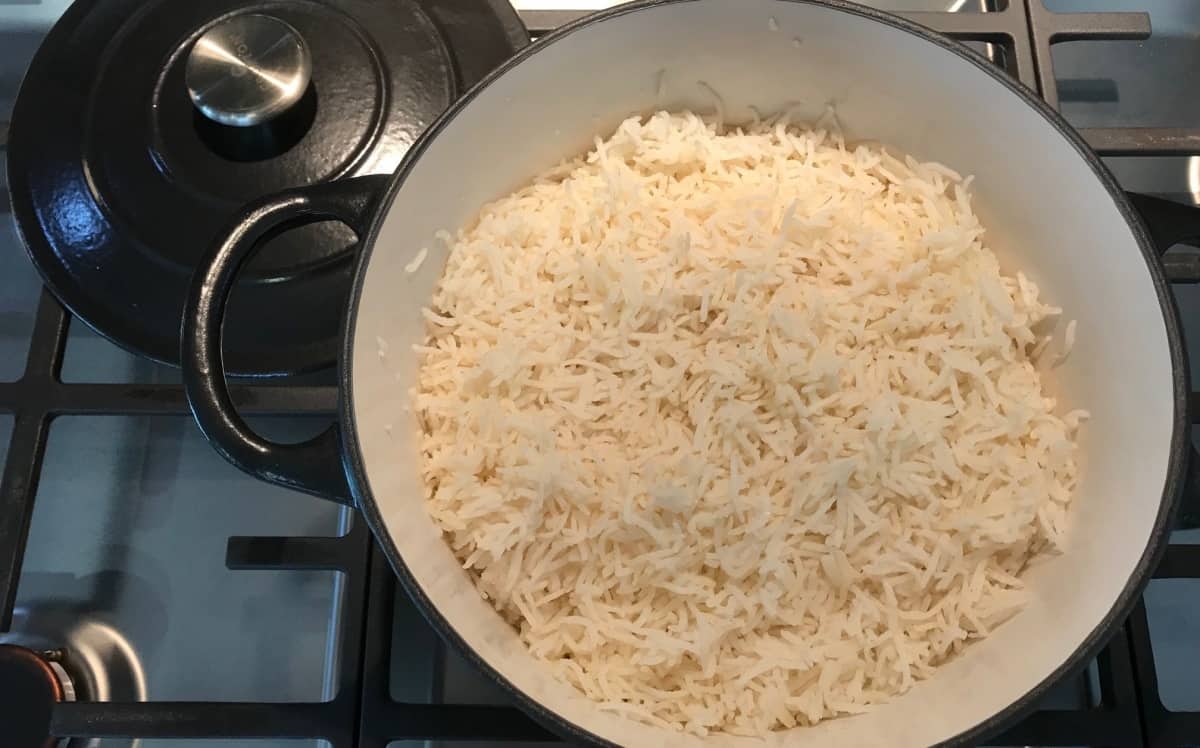
How to Cook Dutch Oven Rice? To cook rice in a Dutch oven, 2 cups of rice, 4 cups of water, and 1 teaspoon of butter. Bring to a boil and cover with the lid. Reduce to the lowest heat for 15 minutes. Then, remove it from heat and place it on an unheated surface for 15 minutes. Remove lid and stir till fluffy – rice to perfection.

Don’t forget to scroll to the bottom to SAVE, SHARE, or PRINT the full recipe…
This post may contain affiliate links. Please read our disclaimer.
Types of Rice
| Properties of Rice | White | Brown | Basmati | Jasmine |
|---|---|---|---|---|
| Length | Short, medium & long grain | Short grain, medium & long | Long | Long |
| Texture | Sticky due to its starchy properties. Light, fluffy white rice, when cooked | Chewy texture as the husk is left on the grain. Light & fluffy when cooked and not sticky | Grains separate and do not stick when cooked | Soft grains with floral aromas that soak up accompanying flavors |
| Flavors | Mild | Nutty | Nutty & Spicy | Nutty & sweet with jasmine flavors |
| Use rice for | Versatile: steaming, stuffing, stir-fries & Pilaf | Casseroles, stews, stir-fries, Pilaf, and stuffing | Ideal for many uses, including curries, saffron rice, Dal | Asian and Thai dishes, as well as curries & stir-fries |
| Growing Regions | Asia & USA | Asia & USA | India & Pakistan | Thailand, Cambodia, Laos, Vietnam |
| Protein | 8g per cup | 5g per cup | 4g per cup | 8g per cup |
| Fat | 0g per cup | 1g per cup | 2g per cup | 0g per cup |
| Cooking Time (using boiling on stovetop method) | 15 minutes | 45 minutes | 15 minutes | 18 minutes |
Cooking Rice in a Dutch Oven
These days, there are so many gadgets and appliances to prepare food and cook with that we tend to underutilize the pots and pans we already have at our disposal.
We are told that this appliance will prepare this or that perfectly every time and save us time and money. If we get back to basics and learn how to use our old-fashioned appliances, life will be much simpler.
So, is a Dutch oven the best pot or pan for cooking rice? I am here to convince you that it is.
Rice to Water Ratio
The rice and water ratio is easy: double the water to the amount of rice you want to prepare. To feed four people, based on 1 cup of rice per person, the ratio will be 2 cups of rice to 4 cups of water.
Rice on a Cooktop

Why is rice so difficult to prepare on a cooktop? There are several reasons why rice does not always turn out light and fluffy and not too moist or stuck to the bottom of the pan.
If the perfect rice-to-water ratio is not measured correctly.
Rapid boiling at a high temperature with the lid off prevents the rice from becoming tender. Medium to medium-high heat will usually turn all types of rice into a burnt mess on the bottom of your pot.
Simmering too long with the lid off the pot will make the rice stick to the bottom of the pot and possibly burn.
Simmering with the lid on and not allowing the moisture or condensation in the lid to steam off, you will be presented with gluggy sticky rice.
Electric rice cookers have a steam release valve that turns on at the end of the cooking process to release excess steam and make the rice fluffy.
The good news is I will teach you how to release this steam using your cast iron Dutch oven for steamed rice.
Why Cast Iron Perfect for Cooking Rice
The heavy base of a Dutch oven allows the heat to diffuse through the base more evenly. A very thin-based pot that gets hot on the bottom will make the rice stick to it.
They retain the heat even when using the low heat required for stovetop cooking. Thanks to the tight-fitting lid, the moisture generated stays inside the pot. So, during the cooking process, there is plenty of moisture to allow the rice to become soft and fluffy without sticking, drying out, or being undercooked.
The Secret to Perfect Rice Every Time
The tight-fitting lid has spikes from which the condensation drips back into the pot. So, you do not remove the lid or stir the rice during the process.
The rice absorbs all the moisture and condensation from the self-basting action on the inside of the Dutch oven lid without continuing to boil, overheat, or simmer to make the rice cook.
Dutch Oven Rice
What Size Dutch Oven Should You Choose?
Pardon the pun, but you do not want one that is too large or too small; just right.
Just right means that there needs to be adequate room for the rice, cold water, boiling process (don’t want it to boil over the sides), and steam. When all ingredients are in the pot, they should be filled to just over halfway up the side of the pot.
My family’s 5-quart Dutch oven will cook up to 4 cups of white rice. I use my 6-quart Dutch oven for larger batches.
Want or need some help choosing a cast iron pot? I have an article about what to look for when choosing an oven with great tips on what to look for before you purchase.
Top Tip – The perfect amount of rice to prepare in one batch is a minimum of 2 cups of uncooked rice. The amount will feed 4 people as an accompaniment or side dish. Remember that any leftovers can be refrigerated and reheated or eaten cold the next day.
Ingredients
- 2 cups of long-grain white rice, short-grain white rice, basmati rice, or jasmine rice
- 4 cups of water
- 1 teaspoon of butter or olive oil
- 1 teaspoon salt (optional)
Directions
- Add the rice to the Dutch oven
- Cover with cold water and add a teaspoon of butter or oil and optional salt
- The butter stops the rice grains from sticking to other rice grains
- Bring the oven to a boil
- Place the lid on the Dutch oven and set the timer for 15 minutes to simmer
- After 15 minutes, – turn off the heat
- Remove from the burner it was cooked on to a cold burner
- Do not remove the lid or stir the rice
- Set a timer for 15 minutes
- When the timer goes off, your rice will be ready
- Stir and fluff up the rice, and it is ready
- Serve with soy sauce
Notes
Correct rice and liquid measurements and using your kitchen timer will provide you with soft rice ready to fluff every time.
You can if you like the butter flavor in your rice and want to add a teaspoon of butter while you fluff the rice with a rice paddle. But it is not needed.
An added benefit of preparing rice in your Dutch oven is that it stays hot to warm for a long time thanks to the heat properties in the cast iron.
My favorite rice to use is Basmati. I buy in bulk and have it delivered because it is cheap, and I do not have to carry it from the market to the car to the house.
Directions for Preparing Brown Rice
To be perfectly cooked, certain uncooked rice, like brown rice, requires a long cooking time. You can rinse rice to remove excess starch, but rinse the rice with the husk still on. It does not affect the outcome of the cooked rice.
- Carry out steps as outlined above 1 through 11 at step 5
- After the water starts boiling, set the timer for 20-25 minutes
- Then, at step 9, another 20-25 minutes after removing from the hot burner
Check out the brown rice I use.
Substitutions
Rice
In place of white rice, you can use long-grain brown rice or wild rice. Just note that the cooking time and water measurements may need to be adjusted slightly.
Oil
Use ghee or butter can also be used in place of the oil for additional flavor.
Water
Try chicken broth or vegetable broth instead of plain water. This adds flavor to the rice, and the seasoning can be used in various recipes.
Stovetop Dutch Oven Rice Recipe

This is by far the easiest rice I have ever made. It truly does turn out dry and fluffy every time.
Stick to the instructions and the measurements and you too will have great rice.
Ingredients
- 2 cups of long-grain white rice, short-grain white rice, basmati rice, or jasmine rice
- 4 cups of water
- 1 teaspoon of butter
- 1 teaspoon salt (optional)
Instructions
- Place 2 cups of white rice into the Dutch oven
- Cover with 4 cups of water and add a teaspoon of butter or olive oil
- The butter stops the rice grains from sticking to other rice grains
- Bring the oven to the boil
- Place the lid on the Dutch oven, reduce it to the lowest heat, set the timer for 15 minutes, and simmer
- After 15 minutes, turn off the heat
- Remove the pot from the burner it was cooked on to a cold burner
- Do not remove the lid or stir the rice
- Set the timer for 15 minutes
- When the timer goes off, your rice will be ready
- Stir and fluff up the rice, and it is ready
Notes
If you like the flavor of butter in your rice and want to add a teaspoon of butter while you fluff it up you can. But it is not needed.
Correct rice and liquid measurements as well as using your kitchen timer will provide you with fluffy rice every time.
Avoid using high heat to prevent the rice from becoming stuck to the base of the pan.
Nutrition Information:
Yield:
6Serving Size:
1Amount Per Serving: Calories: 143Total Fat: 1gSaturated Fat: 0gTrans Fat: 0gUnsaturated Fat: 0gCholesterol: 2mgSodium: 365mgCarbohydrates: 30gFiber: 0gSugar: 0gProtein: 3g
Nutritional details are calculated from the ingredients used in this recipe. You should calculate nutritional values based on ingredients you have access to.
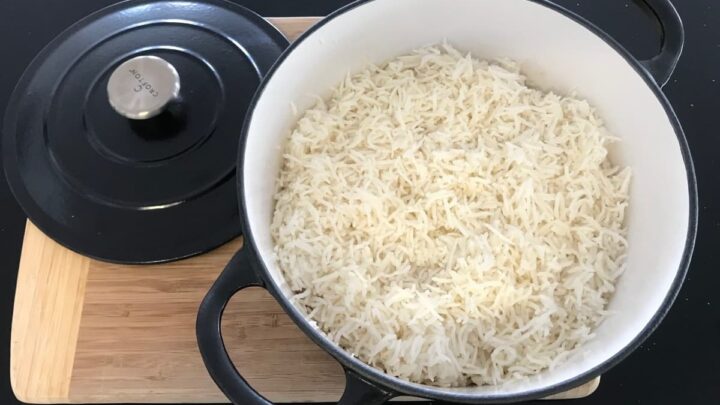
In this video, you will see my fluffy cooked Basmati rice in my Dutch oven.

FAQs
Cooking rice in a Le Creuset Dutch oven
The process for cooking rice in a Dutch oven is the same regardless of the brand of oven you own. If you have a Le Creuset Dutch oven, you are one of the lucky ones, and you will love serving this hot, fluffy rice straight from the dish.
Can you cook rice in cast iron?
Yes, cast iron retains heat better than any other pan. Cover it with its heavy lid that keeps the moisture in. The rice cooks on the stovetop by steaming until soft and flavorful. No need to drain the water off. Use a fork to fluff it up, transfer it to a bowl and enjoy.
How to store rice
Store cooked rice in the refrigerator in an airtight container or covered dish for up to 5 days.
How to reheat rice
You can reheat rice in the microwave in increments of 30 seconds until warm and cover it with a damp paper towel so the rice does not dry out. Reheat in the oven, place cooked rice into a baking dish, add a small amount of water, and cover with aluminum foil. For best results, bake on low heat for 10 minutes, removing the dish to test the heat and stirring with a wooden spoon. Return if more heat is required.
Reheat on the stovetop over low heat by adding 1/8 cup of water and a little butter to each cup of rice if you like. Stir continuously while reheating.
See my in-depth article that shows you how to reheat all types of leftover rice successfully.
Should I Rinse Rice Before Cooking
Yes, you should rinse rice before cooking. Washed rice helps remove excess starch, making the cooked rice sticky. It also helps to remove any dirt or dust that might be on the surface of the grains.
To rinse your rice, place it in a fine-mesh strainer and run cold water over it until it clears. Drain the rinsed rice in a colander before using it for cooking.
Update!!!
Can you cook rice in Le Creuset?

Yes, you can! Le Creuset has released a rice cooker – specifically designed for preparing rice. This rice cooker prepares smaller amounts than I have outlined above.
Check out the all-new Le Creuset rice pot.
In my article, I will check out my favorite Dutch oven, the signature Le Creuset Enameled 5.5-Quart Signature Dutch Oven.
Wrapping Up: How to Cook Rice in a Cast Iron Dutch Oven
This is the easiest way to cook perfect rice every time – and it’s all done in one pot!
Fluffy cooked rice every time. What more could we ask for? So what are you waiting for, home cooks? Pull out your little workhorse and give the above rice preparation technique a go. I guarantee you will not be disappointed.
If you do not have a cast-iron Dutch oven, you should check out this purpose-built Japanese dish for preparing the perfect rice.
Is there any chance I have convinced you to throw away an unused and wanted cooking appliance (electric rice cooker) that is taking up precious storage or countertop space in your kitchen?
As I have outlined above, you will be convinced once you prepare your rice. I seriously prepared another batch this morning for dinner tonight to make sure!!!
At Ovenspot, I am committed to bringing you quick and easy recipe ideas using fresh ingredients prepared “all in one pot.”
One-Pot Cooking Rocks!

Michelle
Hi, I’m Michelle, the founder, owner, author, and editor of OvenSpot. My passion for one-pot cooking commenced when I was working to prepare cafeteria lunches for school students. I am now on a mission to assist you in choosing the cooking pot or appliance you will use daily. As well as in-depth information to assist you in using and caring for your cookware and appliances. Along with the yummy recipes I use at home.
Questions? Reach out to Michelle at [email protected]
