Dutch Oven Temperature Guide (Cooking & Briquette Chart)
Dutch ovens have been in use for centuries to cook bread, stews, and many other delicious meals. Though they vary somewhat in size and structure (some have legs or hanging hooks while others are more streamlined), dutch ovens tend to share consistent thickness and temperature thresholds.
Dutch ovens are a form of cookware typically made of cast iron. They tend to be thick, circular, pots with equally solid lids.
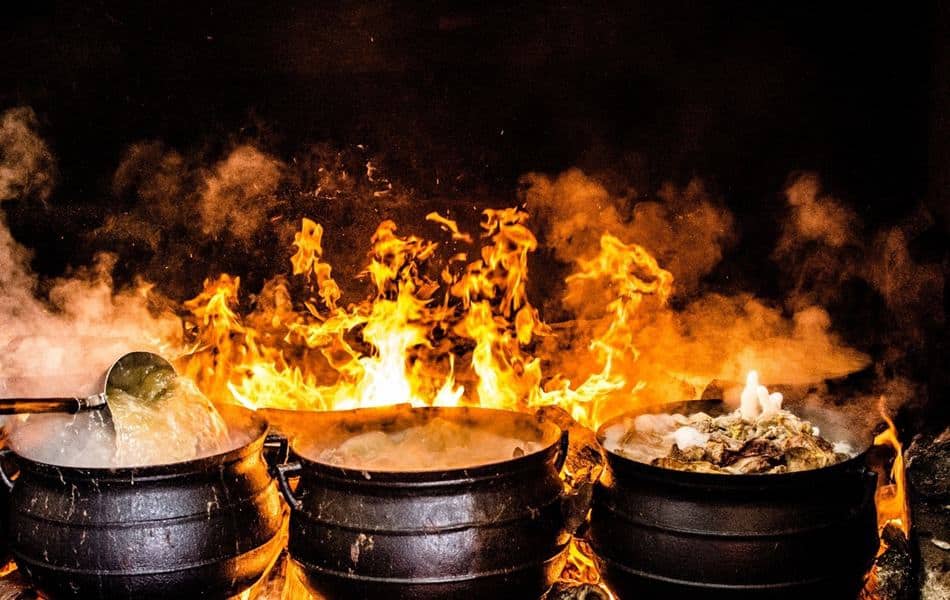
Because of their durability, they are often used for cooking foods over an open flame or hot charcoal. Achieving the desired temperature and the number of briquettes with a dutch oven can be tricky.

Explore Dutch ovens and discover the ideal temperatures and timings for various heating configurations. This way, you can use your Dutch oven correctly without fear of overcooking or undercooking a delicious dish.
Disclaimer: I earn from qualifying purchases on my website as an Amazon Associate. If you purchase through links from this website, I may get a small share of the sale from Amazon and other similar affiliate programs.
Preheating Time and Methods for a Dutch Oven
Understanding the Dutch oven preheating process begins with determining the heating method. After all, cooking on an induction stovetop vastly differs from cooking over open coals.
Let’s quickly dive into some of the most common preheating methods for Dutch ovens.
Once you understand how a heating source helps determine the preheating time, you might be better able to achieve your desired Dutch oven dish’s ideal temperature.
Let’s explore the three most common heating methods for Dutch ovens and their preheating times.
Oven
This is certainly the most straightforward preheating method.
Most conventional ovens require users to set a preheating temperature, eliminating the need for a thermometer to gauge the heat.
Still, if you’re using your home’s oven to preheat a Dutch oven, you’ll want to heat in tandem.
Rather than waiting for the oven to reach the desired temperature and then putting the Dutch oven inside, allow the two ovens to heat concurrently.
This can help prevent cracks in the vessel and expedite the preheating process.
When the conventional oven has reached the desired temp, the Dutch oven will also be ready for use.
Stovetop
Cooking on the stovetop can be slightly trickier and does require a little extra finesse.
However, if you’re using a Dutch oven for stovetop meals, you can follow the oven preheating guide above and remove the oven, and place it directly onto a warm stove surface.
Remember, applying sudden and extreme heat to your Dutch oven is generally not a good idea. This is true of most cookware, no matter the material.
This rule can make it a challenge to cook with charcoal, as most will not warm up their Dutch oven before casting it over the coals.
Charcoal
Dutch ovens were made to be used with charcoal and live flame. However, the knowledge surrounding this process can be confusing.
For example, putting a Dutch oven directly over a strong fire can be disastrous, but putting it near-live flame can be wonderful.
As such, many people aren’t fully comfortable using their Dutch ovens on coals.
Fortunately, there’s quite a lot of modern information concerning this particular heating process.
Like the other preheating methods mentioned above, it’s vital to warm your Dutch oven slowly. This process ensures even heat distribution and hot spots when using this heat source.
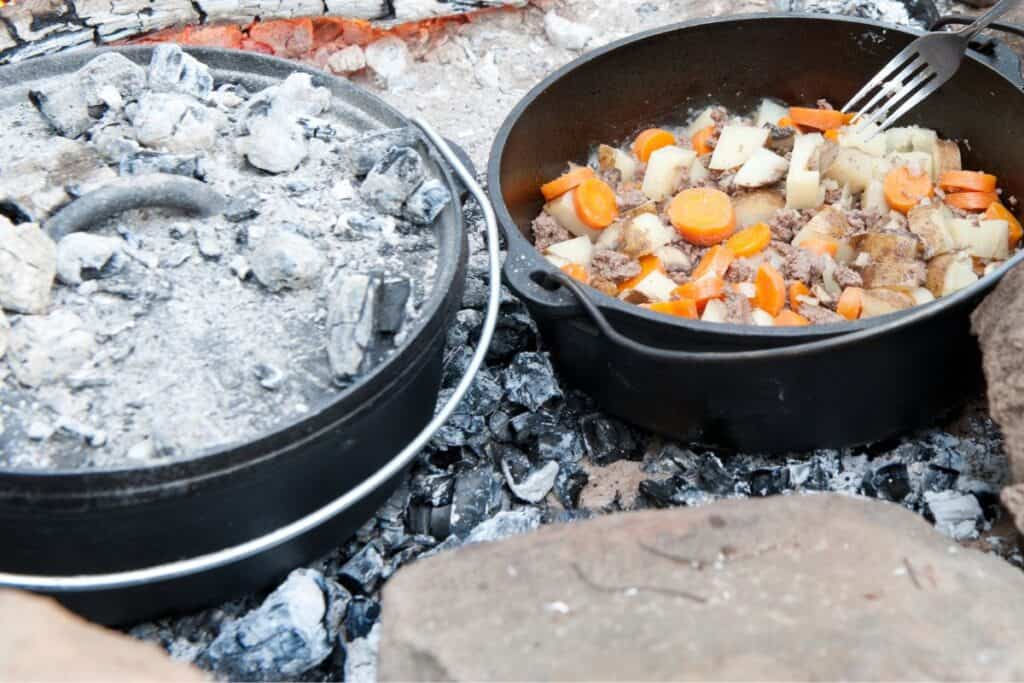
Additionally, you’ll need to place the oven on a bed of charcoal and cover the top of the lid with coals as well.
The number of individual briquettes for the base and top differs depending on the size of the Dutch oven you’re using and your ideal temperature.
The popular 12-inch Dutch oven requires 25 coals a total amount of coals 17 on top of the Dutch oven and 8 under the bottom of the Dutch oven to reach an internal temperature of 350 degrees Fahrenheit. This is average for favorite recipes like camp stews and casseroles.
The following guide will help you with campfire coals or briquette placement for the size of your Dutch oven.
Dutch Oven Temperature Chart
| Dutch Oven Size | 325℉ | 350℉ | 375℉ | 400℉ | 425℉ | 450℉ |
|---|---|---|---|---|---|---|
| 8″ | Top: 10 Bottom:5 Total: 15 | Top: 11 Bottom:5 Total: 16 | Top: 11 Bottom:6 Total: 17 | Top: 12 Bottom:6 Total: 18 | Top: 13 Bottom:6 Total: 19 | Top: 14 Bottom:6 Total: 20 |
| 10″ | Top:13 Bottom:6 Total: 19 | Top: 14 Bottom:7 Total: 21 | Top: 16 Bottom:7 Total: 23 | Top: 17 Bottom:8 Total: 25 | Top: 18 Bottom:9 Total: 27 | Top: 19 Bottom:10 Total: 29 |
| 12″ | Top: 16 Bottom:7 Total: 23 | Top: 17 Bottom:8 Total: 25 | Top: 18 Bottom:9 Total: 27 | Top: 19 Bottom:10 Total: 29 | Top: 21 Bottom:10 Total: 31 | Top: 22 Bottom:11 Total: 33 |
| 14″ | Top: 20 Bottom:10 Total: 30 | Top: 21 Bottom:11 Total: 32 | Top: 22 Bottom:12 Total: 34 | Top: 24 Bottom:12 Total: 36 | Top: 25 Bottom:13 Total: 38 | Top: 26 Bottom:14 Total: 40 |
| 16″ | Top: 25 Bottom:12 Total: 37 | Top: 26 Bottom:13 Total: 39 | Top: 27 Bottom:14 Total: 41 | Top: 28 Bottom:15 Total: 43 | Top: 29 Bottom:16 Total: 45 | Top: 30 Bottom:17 Total: 47 |
Each square’s number represents the total number of charcoal briquettes needed for that particular vessel and temperature.
To figure out the top-to-bottom ratio, you can employ some simple math. Using a 2:3 ratio can ensure that a Dutch oven is correctly heated.
For example, a 10-inch oven that needs to hit 400 ℉ will require about 25 briquettes.
At a ratio of 2:3, this means you’ll need to place about 16 to 17 bits of charcoal beneath the Dutch oven and the remaining amount on top.
You may find it helpful to have a thermometer on hand to keep track of rising temperatures within and surrounding your Dutch oven.
A handheld infrared thermometer can help you measure heat without risking your safety or meals.
The Etekcity Infrared Thermometer uses a high-beam laser to target surfaces and read their heat signature. With an easy-to-read backlit digital screen and the ability to register temperatures at a distance, this device could be an excellent (and affordable) member of any cooking toolkit.
Printable Dutch Oven Charcoal Temperature Chart
Get your free printable copy of my Dutch oven temperatures, coal, and briquette placement chart. The chart also gives you the placements and temperatures required for various Dutch oven cooking methods, including baking, roasting, stewing, and frying.

Charcoal Placement on a Dutch Oven
When placing your charcoal under the Dutch oven, leave half an inch around the outside diameter of the Dutch oven and use a circular pattern. A checkerboard pattern works well on top of the oven. Using these patterns avoids hot spots and uneven cooking.
Where should briquettes be placed? Arrange briquettes in the same layout as coals for the best results.
What Is a Dutch Oven?

Most people assume that Dutch ovens were invented in the Netherlands. But while Dutch ovens were born in the Netherlands, their creation can be attributed to an Englishman named Abraham Darby.
In the early 1700s, Darby visited the Netherlands and studied their brass-based manufacturing processes.
He observed the Dutch pot-makers using unique casting molds made of sand, and he began to theorize that other types of metal could be molded using the same technique.
However, Darby struggled to adapt cheaper forms of metal to this process.
Fortunately, a Welshman named James Thomas helped Darby experiment with the technique until they succeeded with a cast-iron pot. This sturdy, kettle-like cookware became what is known today as the Dutch oven.
Many of the original Dutch ovens were far larger and heavier than the ones found today.
They often featured short legs and a thick carrying handle. This allowed owners to set their cookware over an open flame or blazing-hot coals without burning the pot’s bottom.
It also ensured maximum portability, allowing families to transport hot meals home easily.
Dutch ovens are still used all across the world. They tend to be most popular among campers and home cooks.
While they’re often used for baking bread, dutch ovens can boil, fry, or bake almost anything.
What Are Dutch Ovens Made Of?
Originally, all Dutch ovens were made of cast iron. This gave them a look, weight, and function similar to cast iron skillets.
However, modern Dutch ovens are often made of a variety of materials. Some have cast iron cores that are covered in a fine ceramic coating.
Others are made of solid glass, copper, and stainless steel, also popular materials used to create Dutch ovens.
Good-quality aluminum Dutch ovens provide a perfect alternative to the traditional cast-iron Dutch oven. This lighter-weight camping Dutch oven is a great replacement for the heavy cast iron pot.
But if you’re determined to experience an authentic Dutch oven cooking experience, you may want to opt for seasoned cast iron.
While cast iron is one of the heaviest materials, it is also one of the most durable. Cast iron also heats evenly and stays hot for quite a long time.
Thick cast iron cookware can survive exposure to live flame or heated charcoals without melting, bending, or dangerous off-gassing chemicals.
As such, many Dutch oven owners proudly remark that their oven is made of cast iron.
You may experience excellent results with glass, copper, or enamel-coated options if you only use your Dutch oven on a standard stovetop or in a conventional oven.
But cast iron tends to produce reliable results when it comes to cooking on an open fire or over a pit of coals.
This is crucial for anyone hoping to achieve the desired temperature with their cookware.
Check out my article to help you choose the best Dutch ovens for camping.
Dutch Oven Maintenance Guidelines
Dutch ovens require a little extra care to remain in tip-top condition.
Fortunately, this often boils down to soaking your Dutch oven in warm, soapy water for half an hour before rinsing and wiping it clean.
However, different materials call for different cleaning measures.
For example, glass cookware should never be exposed to extreme temperatures in rapid succession.
Placing a blisteringly hot glass dish into a freezer can result in fractured or shattered glass.
Similarly, using an abrasive sponge or scrub to clean a ceramic-covered or enameled Dutch oven could result in cracks in the enamel.
Let’s explore a few handy cleaning tips and tricks for the two most popular Dutch ovens, ceramic and cast iron.
Ceramic Dutch Ovens
Ceramic or enameled Dutch ovens are popular due to their appearance and functionality.
These rugged vessels are often coated in brightly-colored ceramic or porcelain-based enamel.
Their cores can be almost any type of metal, though most sport a cast-iron skeleton.
Due to their layered nature, ceramic Dutch ovens must be treated more carefully than copper, iron, or steel models.
After cooking with a ceramic Dutch oven, allow it to cool to room temperature before soaking it in warm, soapy water.
After several minutes to half an hour (depending on the nature of the stuck-on food debris), use a non-abrasive cleaning cloth or soft silicone scrub to remove any remaining gunk.
Rinse clean with cool water and repeat immediately if necessary. Be sure never to leave your Dutch oven filled with water overnight.
While the ceramic coating should protect from any potential rusting, keeping your Dutch oven in a mid-washed state for several hours is unhygienic.
Doing so could potentially shorten the life of your dish. However, this issue is far more prevalent in cast iron Dutch ovens.
Cast Iron Dutch Ovens
Cast iron is a fantastic material for cookware. When properly maintained and cared for, it can outlive its owners.
Cast iron is also nearly impervious to accidental drops and collisions, unlike glass or solid ceramic.
However, cast iron is metal; nearly all metals are prone to corrosion, rusting, and water-based decay. This can make cleaning your cast iron cookware a challenge.
Still, a little knowledge goes a long way in avoiding costly cast iron issues.
Firstly, cast iron doesn’t respond well to abrasive cleaners or scrubbing sponges.
Secondly, you should never apply dish soap or similar solutions to cast iron.
Keeping these two primary rules in mind when working with a cast iron Dutch oven could lengthen your vessel’s life.
After cooking with a cast iron Dutch oven, you’ll want to allow it to cool to room temperature before cleaning it.
Once it is cool enough to touch safely, you’ll want to remove any remaining food and either store or dispose of it.
Then, use a strong, clean cloth to wipe away oils or food particles that may remain.
After removing all visible bits of grub, run your oven beneath warm water for several minutes.
You can use a soft, non-abrasive cleaning pad or scrub to remove any stubborn bits of food clinging on.
You could pat dry the oven or allow it to air dry, but most swear by hand-drying due to rust concerns.
My article on how to clean cast iron after cooking is especially helpful when camping.
Storing your Dutch oven is also important for the cooking pot’s optimum lifespan!
Check out my article on how to store cast iron, which details in-depth the importance of storing cast iron and vital storage tips.
FAQs
How many coals does it take to get a Dutch oven to 350?
8″ Dutch oven 16 – 11 on top and 5 on bottom
10″ Dutch oven 21 – 14 on top and 7 on bottom
12″ Dutch oven 25 – 17 on top and 8 on bottom
14″ Dutch oven 32 – 21 on top and 11 on bottom
16″ Dutch oven 39 – 26 on top and 13 on bottom
How many briquettes for 425 degrees?
8″ Dutch oven 20 – 14 on top and 6 on bottom
10″ Dutch oven 29 – 19 on top and 10 on bottom
12″ Dutch oven 33 – 22 on top and 11 on bottom
14″ Dutch oven 40 – 26 on top and 14 on bottom
16″ Dutch oven 47 – 30 on top and 17 on bottom
To Finish – Dutch Oven Temperature Guide
Dutch ovens might not hail from the Netherlands, but they were inspired by some of the time’s innovative techniques.
They’ve continued to be a staple form of cookware in many households, and for a good reason.
Dutch ovens are durable, self-contained cooking vessels that can withstand high temperatures.
Temperature control requires a little finesse, and those using charcoal to heat their Dutch oven will need to refer to a guide for help.
Remember, first-time camp Dutch oven users’ practice makes perfect. The best way to enjoy your Dutch oven is to use it often.
Doing so will help you grow more accustomed to this cooking method to the preheating and slow cooker process.
After each dish, clean your Dutch oven with plenty of warm water. It’s also crucial to avoid using potentially harmful tools and cleaning liquids.
One-Pot Cooking Rocks!
Sources
• North Dakota State University: Dutch Oven Cooking
• Wikipedia: Dutch oven

Michelle
Hi, I’m Michelle, the founder, owner, author, and editor of OvenSpot. My passion for one-pot cooking commenced when I was working to prepare cafeteria lunches for school students. I am now on a mission to assist you in choosing the cooking pot or appliance you will use daily. As well as in-depth information to assist you in using and caring for your cookware and appliances.
Questions? Reach out to Michelle at [email protected]
